
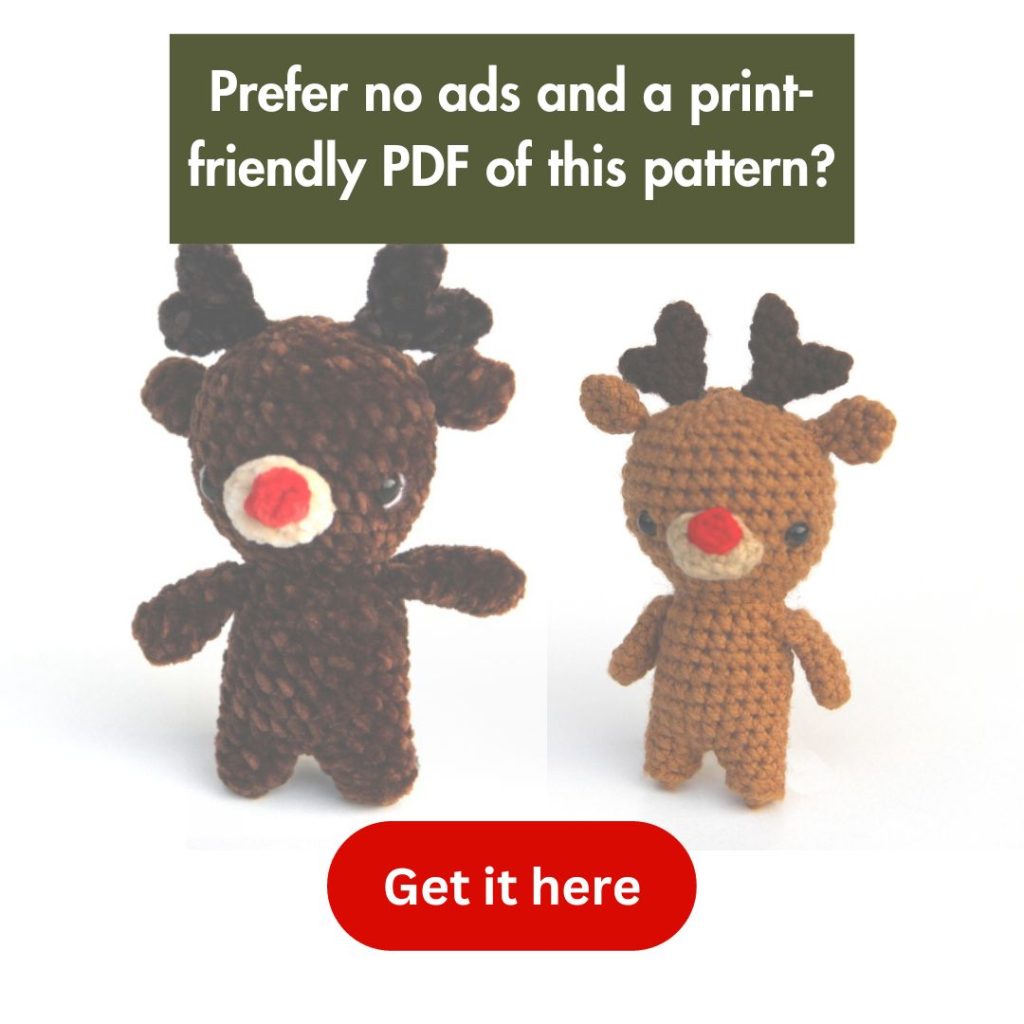
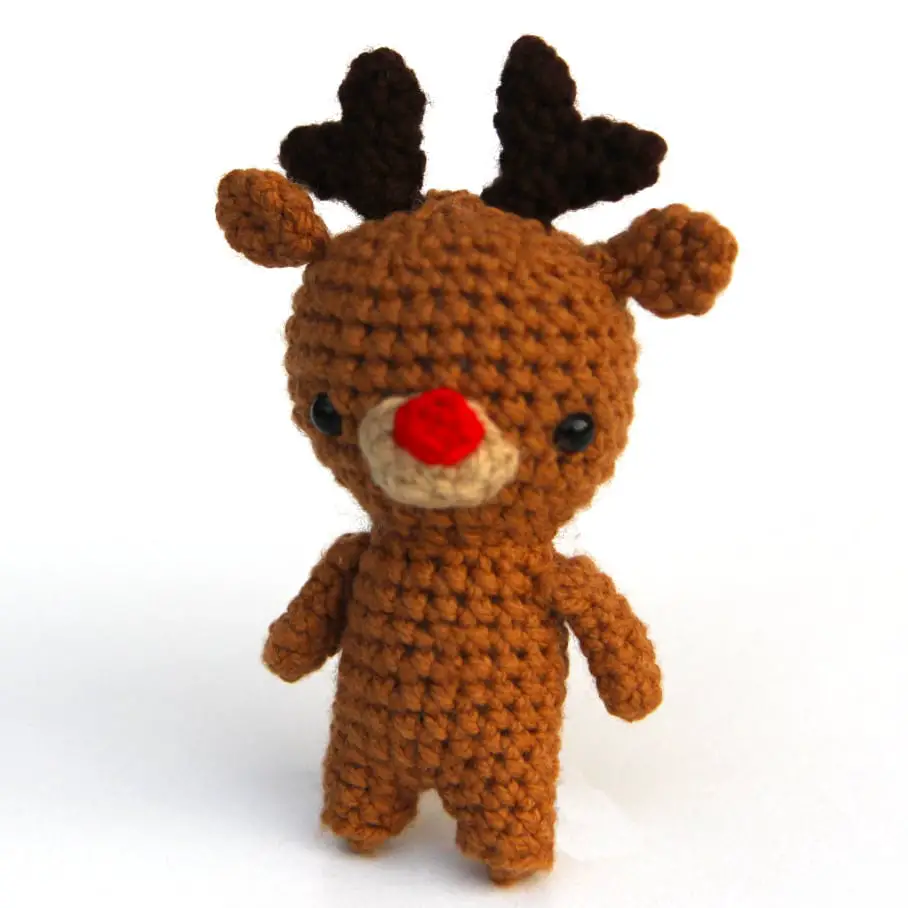
Small Crochet Rudolph the Reindeer Amigurumi
With Christmas around the corner, we have a cute and festive small crochet reindeer pattern for you! Get ready to bring some holiday magic to your hooks and needles as we create a tiny reindeer buddy that’ll steal hearts faster than Santa’s sleigh zooms across the night sky. This small Rudolph the red nose reindeer pattern works up so fast – in just a couple of hours! It’s part of our adorable Kozu Palm Pets series of small crochet animals.
You can experiment crochet this little guy in thicker yarn – like chenille or a blanket yarn for a bigger and more huggable cutie. Or you can crochet him in DK yarn or worsted weight yarn for an adorable crochet Christmas ornament or a crochet stocking stuffer!
So grab your favourite yarn, put on your favourite holiday song, and let’s dive into the joy of crocheting our own little reindeer.

Want to save this pattern for later? Pin it to your pinterest board.
About this Small Crochet Reindeer Pattern
This small crochet reindeer pattern works up to be approximately 4 inches tall using DK yarn and a 2.75mm crochet hook. However, if you want a cuddly reindeer, you could try super bulky blanket yarn. While I haven’t tried it yet with this pattern (I didn’t have the right colours!), I have made a few of the other animals in the Kozu Palm Pets small animals series with blanket yarn and they turned out to be approximately 11.5 inches of cuddly cuteness!
This pattern, like all the other patterns in the series, is a low-sew amigurumi pattern. What this means is that the legs, body, arms, tail, and head are all crocheted in one piece. So you just need to sew on the ears, muzzle, nose, and horns. How awesome is that? However, to ensure that the pattern works up the way that it needs to, you need to be sure to crochet the arms first as stated in the pattern, as they need to be ready to crochet in as you crochet the body.
I really love the simplicity of this little guy. I recently crocheted him in chenille yarn as well – you can see him in the photo below. The yarn that I used was a thin chenille yarn with a 3.25 mm crochet hook. He turned out to be six inches tall and so cute and squishy! I don’t love the colours that I used but that was all that I had on hand at home (I think they turned out a little too dark) so I added white accents around the eyes to allow them to stand out.
This pattern is simple and beginner-friendly. It should take just a couple of hours to crochet – so it’s really great it you’re looking for a super quick Christmas amigurumi pattern! We really hope you enjoy it!

Small Crochet Reindeer Free Pattern
This pattern is for your personal use only and cannot be sold, copied, or reproduced in anyway without permission from the designers. You may sell finished objects made from this pattern in small quantities but please give credit to chaicoffeecrochet.com as the pattern designers.
Tools and Supplies that You Will Need
- Yarn: You need a very small amount of yarn in brown. Scrap yarn in dark brown, beige, and red.
- 2.75 mm crochet hook
- Tapestry needle
- Stitch markers
- Polyfill stuffing
- Two 7 mm safety eyes
Stitches That you Will Need to Use and Abbreviations
This pattern is written in US terms and crocheted in continuous rounds unless specified otherwise.
Sl st: slip stitch
SC: single crochet
INV DEC: invisible decrease
INC: two SC in the same stitch
BLO: back loops only
HDC: half double crochet
Finished size: Approximately 4 inches tall, using DK yarn and a 2.75mm hook
How to Crochet a Small Reindeer
Arms (make 2)
Do not stuff
Using brown
Round 1: 6 SC into a magic circle (6)
Round 2-6 (5 rounds): SC around (6)
Now pinch the two ends of the arm together, chain one, and 3 SC through both sides to close the arm. Fasten off.
Note: We will be crocheting the arms in, which is why they need to be crocheted closed. If this is your first time doing this, check out our tutorial on how to attach amigurumi parts without sewing.
Legs
Using brown
Stuff the legs lightly as you go.
Round 1: 4 SC into a magic circle (4)
Round 2: INC in each stitch (8)
Round 3: SC around in BLO (8)
Round 4: SC around (8)
Fasten off. Make sure that you’ve pulled the magic circle tight so that stuffing doesn’t escape from it.
Repeat rounds 1-4 for the second leg but don’t fasten off.
Body
Stuff as you go. Now we will begin joining the legs (see the end of the pattern for a photo tutorial)
Round 5: Chain 2 and SC in the next unworked stitch of the first leg. Place a stitch marker in this stitch to mark the start of your round. SC in the remaining 7 stitches of the first leg until you reach the chain, SC in each of the 2 chains, SC in the 8 stitches of the next leg, and SC on the other side of each of the two chains until you reach your stitch marker. (20)
We will be crocheting in the tail in the next round.
Round 6: 19 SC, (Ch 4 and starting from the second chain on your hook, sl st, 2 HDC), SC in the last stitch of the round (20 plus the tail)
Check that the tail is centered to the back of you’re the body. If it isn’t, adjust its placement so that it is.
Round 7-10 (4 rounds): SC around (20)
Round 11: (8 SC, INV DEC) twice (18)
Round 12: SC around (18)
Round 13: SC around. Crochet the arms in during this round on either side of the body by crocheting through both the body and the arm (See tutorial on how to crochet in the arms.) (18)
Round 14: (SC, INV DEC) six times (12)
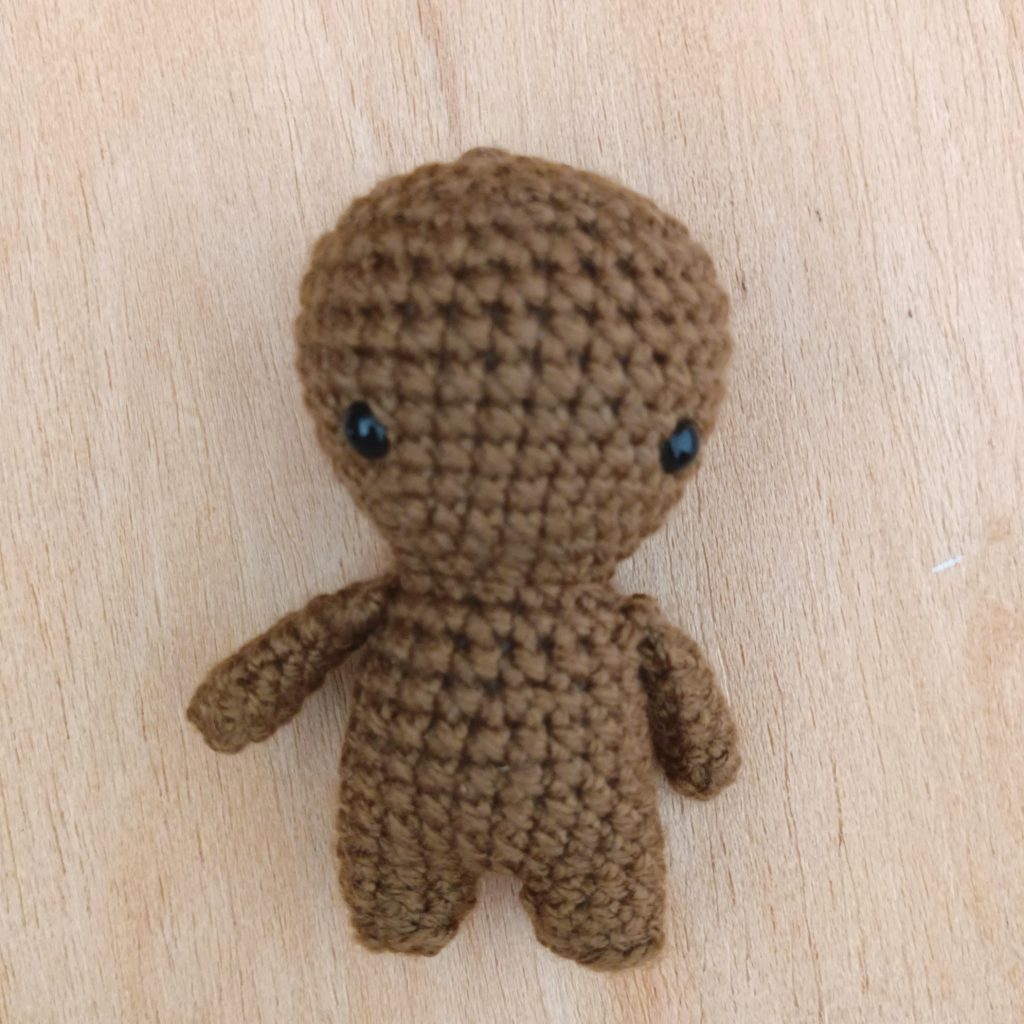
Head
Round 15: (SC, INC) six times (18)
Round 16: (2 SC, INC) six times (24)
Round 17: (3 SC, INC) six times (30)
Round 18-24 (7 rounds): SC around (30)
If you’re using safety eyes, insert them between Rounds 19 and 20, seven stitches apart. Ensure that you have stuffed the body well, especially the neck.
Round 25: (3 SC, INV DEC) six times (24)
Round 26: (2 SC, INV DEC) six times (18)
Round 27: (SC, INV DEC) six times (12)
Ensure that you have stuffed the head well.
Round 28: INV DEC six times (6)
Fasten off and leave a tail. Insert the needle in front loop of each stitch and pull tight to close.
Muzzle
Using beige
Round 1: Chain 5. Starting in the second chain from the hook, 3 SC, 3 SC in the next chain as your work turns. Now continue on the other side of the chain. 2 SC and INC in the last chain (10)
Round 2: SC around (10)
Fasten off and leave a long tail for sewing. Stuff the muzzle lightly and sew it onto your reindeer between Rounds 18 and 20.
Nose
Using red
Round 1: 4 SC into a magic circle and sl st to the first SC (4)
Sew the nose on the top of the muzzle.
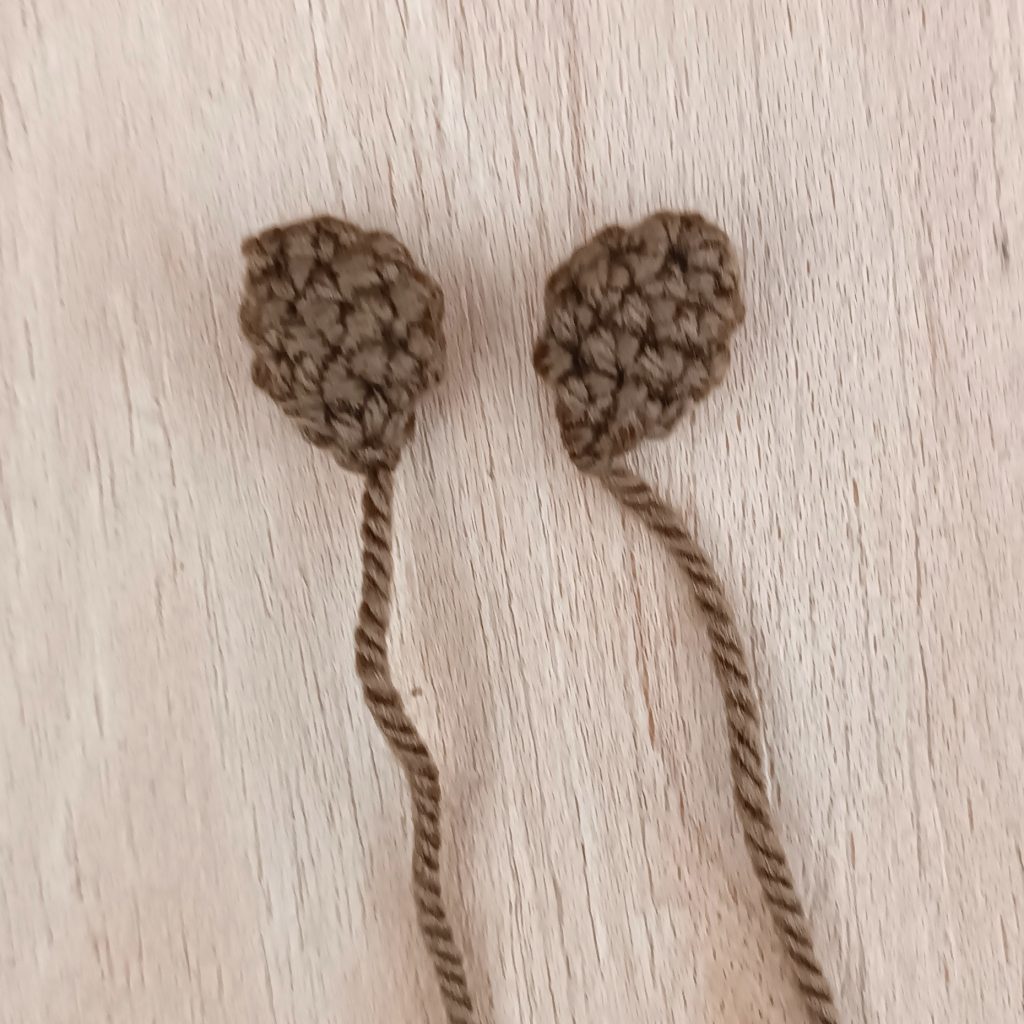
Ears (make 2)
Do not stuff
Using brown
Round 1: 6 SC into a magic circle (6)
Round 2: (SC, INC) three times (9)
Round 3: SC around (9)
Round 4: (SC, INV DEC) three times (6)
Fasten off and leave a long tail for sewing. Insert the needle in front loop of each stitch and pull tight to close. Sew the ears on between Rounds 5 and 6 from the top of your reindeer.
Antlers (Make two)
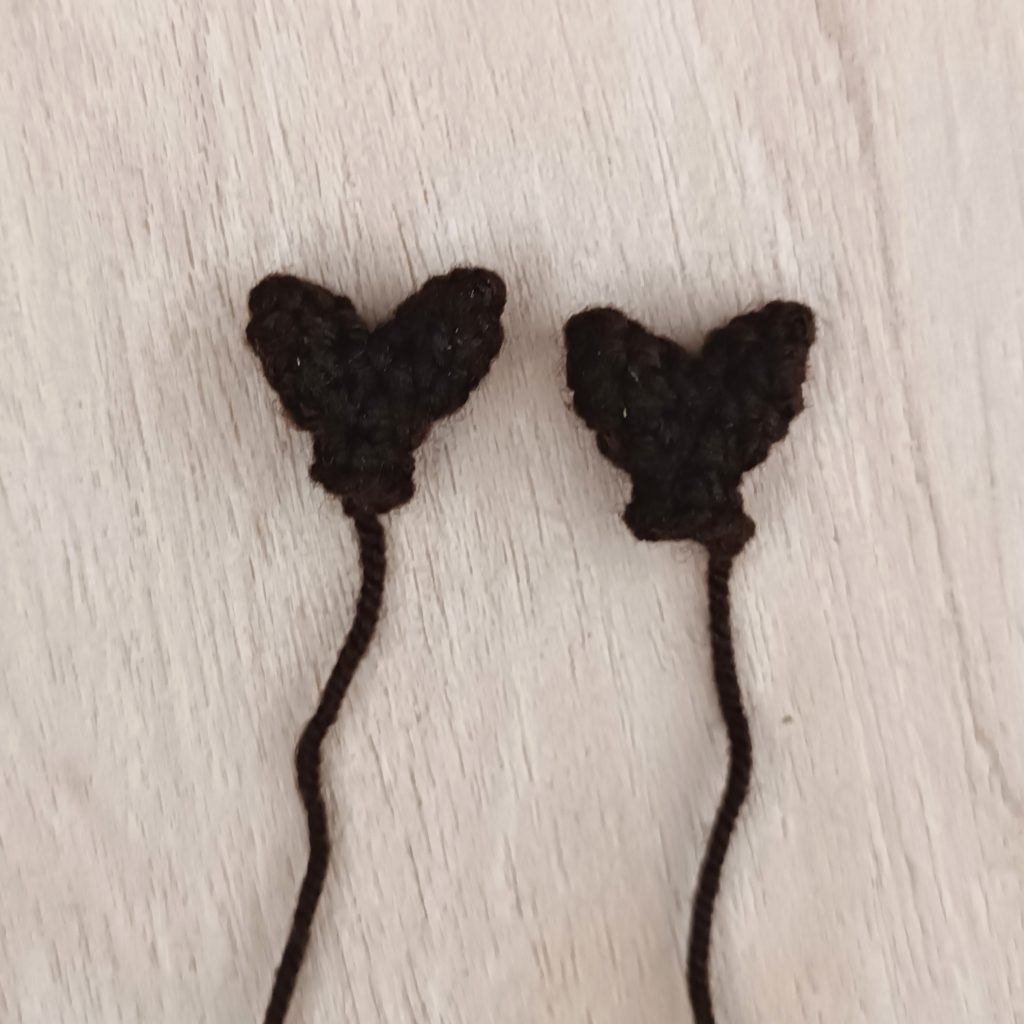
Do not stuff
Using dark brown
First part
Round 1: 5 SC into a magic circle (5)
Round 2: SC around (5)
Fasten off.
Second part
Round 1: 5 SC ito a magic circle (5)
Round 2-3 (2 rounds): SC around (5)
Now we will join the two parts
Round 4: SC into the first unworked stitch of the first part of the antlers. SC in the remaining 4 stitches of the first part and the 5 stitches of the second part. (10)
Round 4: INV DEC five times (5)
Round 5: SC around (5)
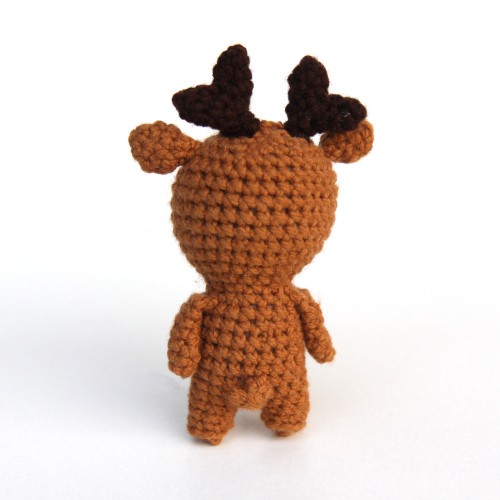
Fasten off and leave a long tail for sewing. Sew the antlers on between Rounds 2 and 4 from the top of your reindeer’s head.
Your small reindeer is now complete! Be sure to check out the rest of the small animals in our Kozu Palm Pets series.
Frequently Asked Questions
How can I crochet a large reindeer plushie?
You can crochet a large reindeer plushie in no time using this pattern with thicker yarn and a larger hook. The hook size will be based on the yarn that you use but typically you go a couple of hook sizes down from the recommended size on the yarn label. Using super bulky yarn and a 7mm crochet hook, this cute little guy can turn into 11.5 inches of cuddles!
You can also try our sweet Rudolph the amigurumi reindeer. He’s 8 inches tall using DK yarn and so adorable!
How do I crochet a reindeer ornament for my Christmas tree?
To turn this cute little guy into an ornament for you Christmas tree, you can simply tie on a string of matching yarn so that you can hang him up on your tree. Easy peasy, right?
How long does it take to crochet a reindeer?
This crochet reindeer pattern takes just a couple of hours to crochet. This is great because you can whip out an adorable little guy just in front of the television one night. And the time that it takes doesn’t change, no matter what yarn you use. So you can use blanket yarn and have a large cuddly reindeer in no time!
What else can I crochet for Christmas?
There are lots of patterns that you can crochet for Christmas! If you like small patterns, be sure to check out our sweet little crochet santa and his elves pattern from our Kozu Palm Pals series of dolls! Our Bax the Christmas Amigurumi Bear from our Juna Series of easy amigurumi animals is also a really popular pattern for Christmas. We also have put together a few round up of patterns from some of our favourite designers for patterns for Christmas amigurumi, crochet Christmas ornaments, and crochet stocking stuffers.