It’s Time to Design Your Doll!
Hello hello friends! I’m so excited for the first day of our crochet-along. I hope you have your crayons or markers ready because it’s time to design your doll. I can’t wait to see what you come up with!
If you’re joining us for the first time, be sure to visit the CAL homepage to learn more about the crochet along!
Today, you will get your worksheet and can begin designing. And then you can choose your yarn. Plus we have some tips for designing the doll and choosing your yarn that you shouldn’t miss. So read through before you begin!
Get Your Worksheet
First things first. Fill out your name and email address in the green box below so that you can get your worksheet.
Note: If you have any trouble getting the email, please check your spam folder or promotions tab (email can be so frustrating sometimes can’t it?). If you still can’t find the email, please email us at us@chaicoffeecrochet.com from the email address you signed up from and we will help you figure it out!
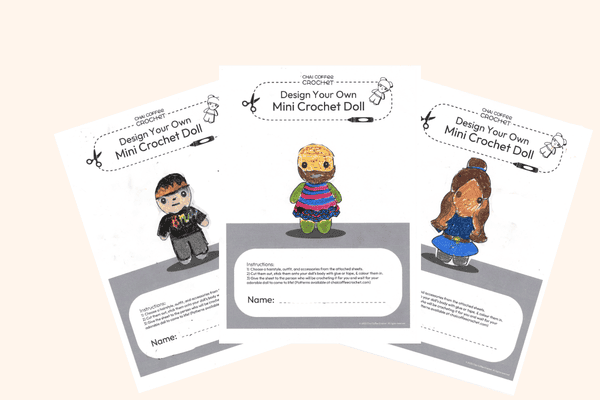
Tips for Designing Your Crochet Doll
Choose Colours Keeping your Yarn in Mind
Before you begin, consider the colours that you are using (or giving your kid to use). Remember the colours that you use should be colours that you have (or can buy) matching yarn for. If you want to use scrap yarn, restrict yourself (or your child) to colours that you have in your scrap yarn.
Also, since these are dolls, make sure you have options of colours that could be used for skin such as beige, peach, or brown.
Cut Out the Clothes and Hair Close to the Edges
The clothes and hair should be cut around the border of the outfit or hairstyle, not on the dotted line. The dotted lines are just to show you that they need to be cut but you should cut as close to the line as possible.
Because the cutting can be tricky, you may need to help children in cutting. You could also cut out the hair and clothing options before the designing begins to make the process easier.
Stick the Clothes onto the Doll and then the Hair
The worksheet is designed so that the clothes should first be added and then the hair. This is particularly true for the longer hairstyles, as the strands will be hidden behind the clothes and you won’t be able to see the hair properly.
Set Some Guidelines (Especially for Beginners!)
If you’re a beginner, you may want to set some guidelines for designing to make the crochet process easier. You can actually do this at any skill level. However, I don’t add any guidelines, as I enjoy a good challenge! Some guidelines for beginners could include:
- No vertical stripes. Vertical stripes are more challenging to crochet, as they require colour changes mid-row
- Stick to the cutouts – do not add anything additional. This enables you to have a pattern for everything, without having to improvise.
- There should be at least one pinky finger’s width of each colour in a stripe. This is because the doll is small and so there are not very many rounds. So colour changes are easier if done if they are wider.
- Mix & match only the outfits labelled “Mix & Match”. These outfits are removeable and they are easy to mix. Tops and bottoms are labelled separately. For those labelled “Complete Outfits,” it is easier to stick to the outfit in its entirety. These outfits are built into the doll (or are removable dresses) and so they are harder to mix and match.
Again, all of these are suggestions for beginners to make the process easier. However, if you’re up for a challenge, you can just let the design process be unstructured.
Try More Than One Doll!
This crochet along is at a leisurely pace to allow for people of all skill levels. So if you’re a more experienced crocheter, try making more than one DIY doll for the crochet along! You could print out multiple copies of the doll body and just one copy of the hair and clothes for desiging. There are so many hair and clothes variety that you can make mulitple varied dolls with just one copy!
Keep Size in Mind When Choosing Your Yarn
The yarn weight will determine the size of your doll. This project was designed for a 4-4.5 inch doll, using DK or worsted weight yarn. However, you can use plush yarn for a larger doll! We’ve made these with super bulky blanket yarn and they turn out to be approximately 12 inches tall!
Let Kids Choose the Yarn for their Dolls
If you’re having children design their own dolls, it is also really fun to have them choose their own yarn as part of the process. This way, they can choose the colours that best match. It will not only give them ownership of the process, but will also let them get super excited while they wait for their doll to be completed!
I think that’s it from us for now! We can’t wait to see your designs. Be sure to share them in our Facebook Community or Instagram (tagging us @chaicoffeecrochet and using the hashtag #chaicoffeecrochetcal)! And we would really love it if you would introduce yourselves and where you’re joining us from.
Enjoy! And see you next Tuesday for the first part of the patterns!