Try this Easy Crochet Elephant Pattern!
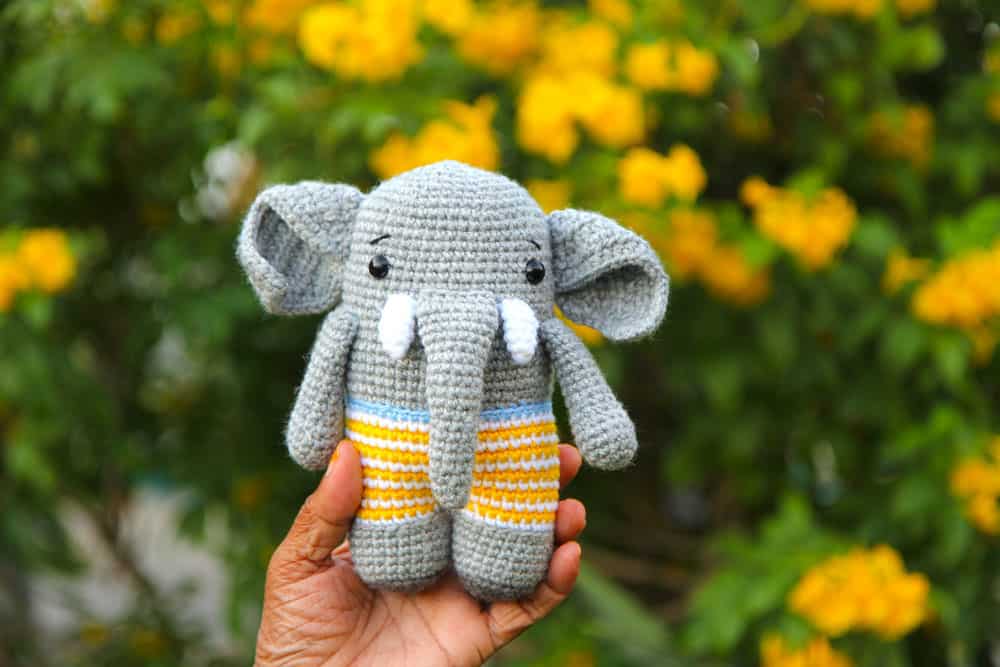
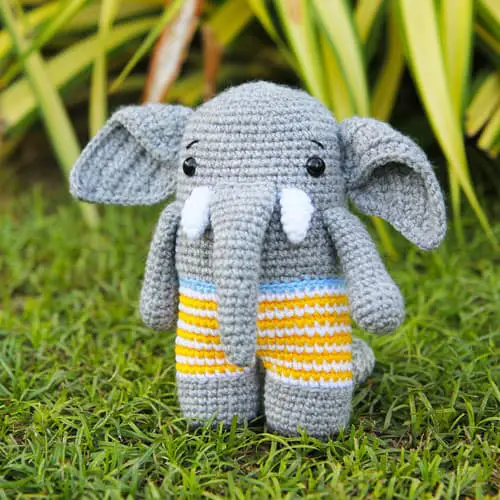
Elzo the crochet elephant is such a cute little guy. With his striped swim shorts, he is ready to cool off from a hot summer’s day.
Elephants are such incredible creatures. They are the largest land animals in the world. But these big guys (and gals!) aren’t all brawn – their temporal lobe is larger and denser than ours, which is why they are said never to forget. And my favourite part about elephants? They spend most of the day eating – how’s that for a fabulous life!
So of course, as a tribute to these majestic creatures, I just had to crochet an elephant! In fact, this amigurumi elephant was the first-ever member of our Juna Series of crochet animals. This little guy is extra special to me because he was the first amigurumi that I ever designed.
About this Crochet Elephant Pattern
Our crochet elephant works up to approximately 8 inches tall. We used DK yarn to crochet this elephant but you can use any yarn that you would like with the relevant hook – a number of our testers use worsted weight (or aran) yarn. If you would prefer to crochet a larger elephant, you can always substitute to a bulky yarn for a cute soft elephant amigurumi.
If you’re looking for an easy crochet elephant pattern, you will love this guy! The legs and body of this crochet elephant are crocheted in one piece. And even better? You can crochet the arms, tusks, and trunk into your elephant too, so that you just have to sew on the tail and ears! While this elephant is not a no sew amigurumi pattern, it certainly isn’t very sewing intensive!
One of my favourite things about this amigurumi elephant pattern are the ears. Oh those ears! They’re big and floppy and so cute!
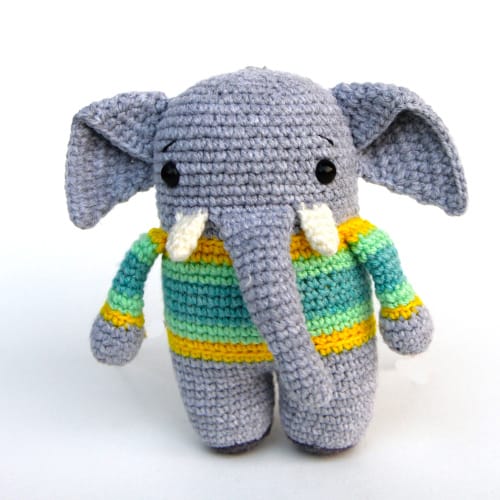
Our elephant is wearing swim shorts but you can experiment with trying other outfits from our various crochet animals (you work the body of the other animal until the clothes end and then continue to the elephant pattern). Besides his swim shorts, I really enjoy crocheting our elephant in the shirt from Mika the Crochet Monkey’s pattern. If you prefer to crochet an elephant girl, you could dress her in the adorable dress by Hattie the Crochet Hippo.
If you would like an ads-free, print-friendly PDF version of our pattern, you can buy it from our Ravelry store.
Want to save this pattern for later? Save this pin to your Pinterest board.
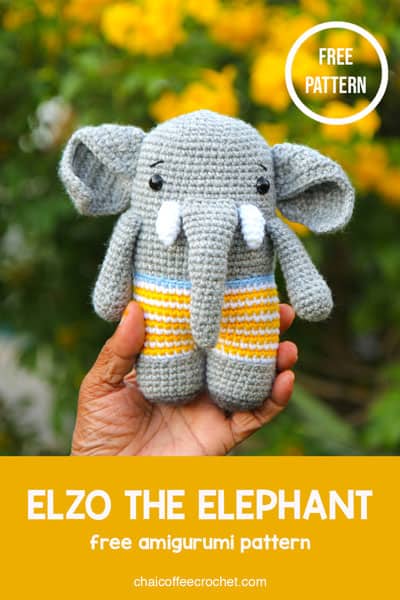
Crochet Elephant Free Pattern
This pattern is for your personal use only and cannot be sold, copied, or reproduced in anyway without permission from the designers. You may sell finished objects made from this pattern but please give credit to chaicoffeecrochet.com as the pattern designers.
Tools & Materials You Will Need
- Yarn: Less than 100 grams of DK yarn in grey and a small amount in dark gray, white, and three colours for the shorts.
- 2.75 mm crochet hook
- Tapestry needle
- Stitch marker
- Polyfill stuffing
- Two 10 mm safety eyes or you can crochet eyes for children under 3
- Embroidery thread in black for the eyebrows
Crochet Stitches and Abbreviations
Sl st: Slip stitch
SC: single crochet
INV DEC: invisible decrease
INC: two SC in the same stitch
HDC: half double crochet
HDC INC: two HDC in the same stitch
BLO: back loops only
Finished Size of Your Crochet Elephant
Your elephant will be approximately 8 inches tall, using DK yarn and a 2.75mm crochet hook.
How to Crochet an Elephant
In this tutorial, we will show you how to crochet an elephant step-by-step.
Trunk
Stuff lightly as you go.
Use light grey yarn
Round 1: SC 6 into a magic circle (6)
Round 2: (SC, INC) three times (9)
Round 3-9 (7 rounds): SC around (9)
Round 10: (2 SC, INC) three times (12)
Round 11-15 (5 rounds): SC around (12)
Round 16: (5 SC, INC) twice (14)
Round 17-20 (4 rounds): SC around (14)
Flatten the trunk, chain 1, and crochet 6 SC to close the trunk.
If you prefer to sew the arms to your elephant, fasten off and leave a long tail for sewing. Do not stuff the rest of the arm.
Fasten off and leave a long tail for sewing.
Tusks (make 2)
Do not stuff.
Use white yarn
Round 1: SC 4 in a magic circle (4)
Round 2: (SC, INC) twice (6)
Round 3-5 (3 rounds): SC around (6)
Tip: If you want to crochet the tusks onto your elephant instead of sewing, see our tutorial on crocheting arms to your amigurumi to see how to finish off the arms.
If you prefer to sew on the elephant tusks, fasten off and leave a long tail for sewing.
Arms (make 2)
Use light grey yarn.
Round 1: SC 6 into a magic circle (6)
Round 2: INC in each stitch around (12)
Round 3: (5 SC, INC) twice (14)
Round 4-5 (2 rounds): SC around (14)
Round 6: (5 SC, INVDEC) twice (12)
Stuff the bottom of the arms lightly.
Round 7: (4 SC, INVDEC) twice (10)
Round 8-16 (9 rounds): SC around (10)
Tip: If you crochet the arms onto the body of your elephant, see our tutorial on crocheting arms to your amigurumi to see how to finish off the arms.
If you prefer to sew the arms to your elephant, fasten off and leave a long tail for sewing. Do not stuff the rest of the arm.
Legs (make 2)
Stuff legs lightly as you go.
Begin with dark grey yarn.
Round 1: 6 SC into a magic circle (6)
Round 2: INC in each stitch around (12)
Round 3: (SC, INC) six times (18)
Round 4: (2 SC, INC) six times (24)
Change to light gray.
Round 5: SC in BLO around (24)
Round 6-10 (5 rounds): SC around (24)
Change to stripe 1 colour.
Round 11: SC around (24)
Change to stripe 2 colour.
Round 12: SC around (24)
Fasten off for the first leg. Leave a long tail for sewing to sew the hole between the legs when joining.
Repeat rounds 1-12 for the second leg but don’t fasten off.
Body
Now we will join the legs of our amigurumi elephants. If you are unfamiliar with the instruction in Round 13, we have a tutorial on how to join legs for amigurumi.
Change to stripe 1 colour
Round 13: Sl st into the first unworked stitch of the first leg. SC in the remaining 23 stitches of the first leg and the 24 stitches of the second leg. (48)
Use the yarn tail from the first leg to sew closed any hole remaining between the legs.
Change to stripe 2 colour.
Round 14: SC around (48)
Change to stripe 1 colour.
Round 15: SC around (48)
Change to stripe 2 colour.
Round 16: SC around (48)
Change to stripe 1 colour.
Round 17: SC around (48)
Change to stripe 2 colour.
Round 18: SC around (48)
Change to stripe 1 colour.
Round 19: SC around (48)
Change to stripe 2 colour.
Round 20: SC around (48)
Change to stripe 1 colour.
Round 21: SC around (48)
Change to accent colour for the top of the swimming trunks.
Round 22: SC around (48)
Change to light grey.
Round 23: SC around BLO (48)
Round 24-41 (18 rounds): SC around (48)*
*If you are going to be crocheting the arms into the body of your amigurumi elephant, you should add them in during Round 31. If you are going to be crocheting in the trunk and tusks to your elephant, they should be crocheted in during Round 33. See our tutorial on attaching limbs to amigurumi without sewing
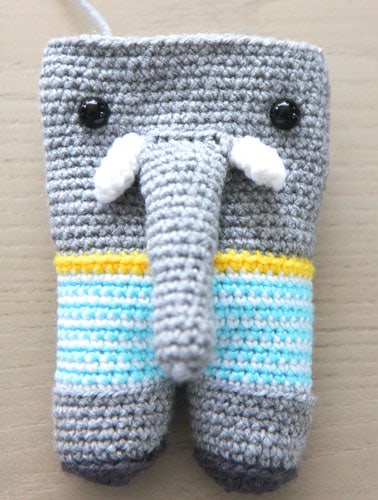
If you prefer to sew the trunk onto your elephant, sew it in between Rounds 33 and 34, so that it’s centered on the front of your elephant. Sew the two tusks on either side of the trunk.
Once you have your elephant trunks and tusks in place, insert your safety eyes between Rounds 35 and 36 so that they are evenly spaced on either side of the trunk and tusks, approximately 14 stitches apart. Embroider on eyebrows.
Stuff the body.
Round 42: (6 SC, INVDEC) six times (42)
Round 43: (5 SC, INVDEC) six times (36)
Round 44: (4 SC, INVDEC) six times (30)
Round 45: (3 SC, INVDEC) six times (24)
Round 46: (2 SC, INVDEC) six times (18)
Round 47: (SC, INVDEC) six times (12)
Ensure that the body is stuffed firmly.
Round 48: INVDEC six times (6)
Fasten off. Insert needle in front loop of each stitch and pull tight to close.
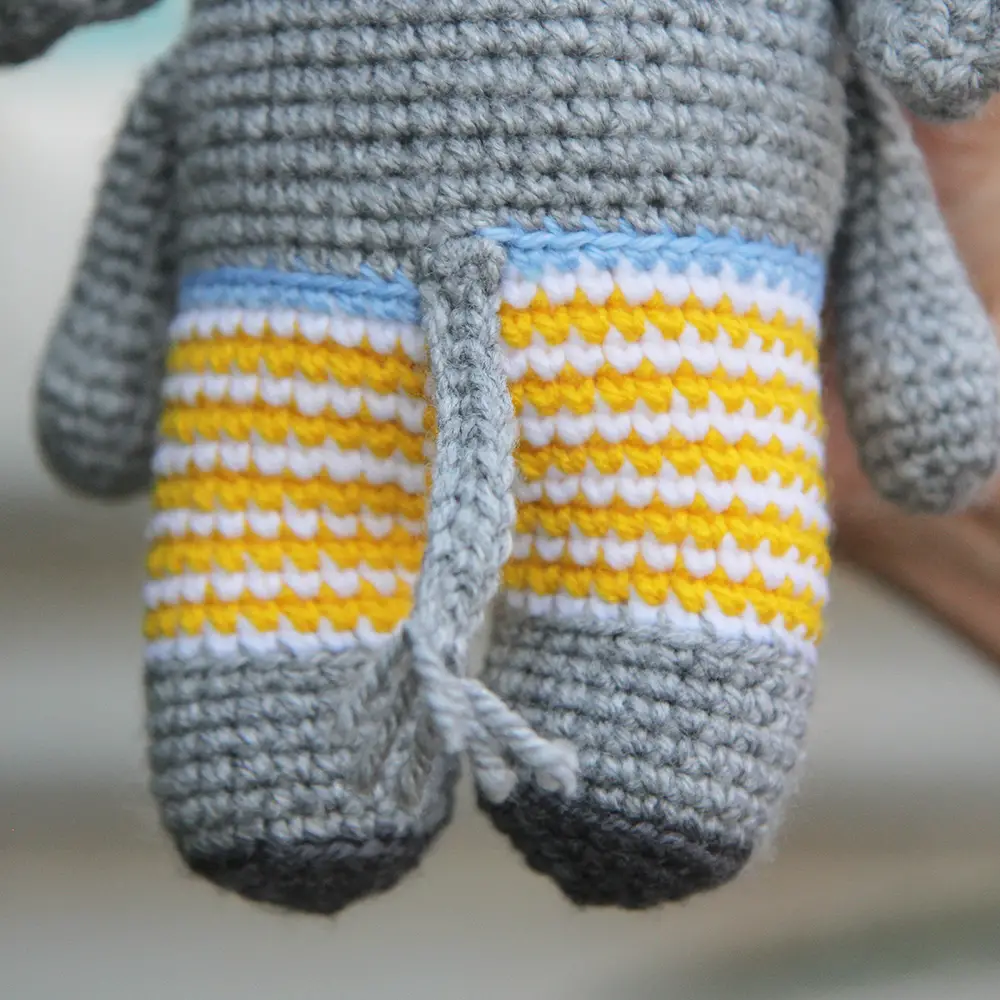
If you haven’t attached the arms yet, you can sew them on now between Rounds 31 and 32. Insert a strand of yarn in the accent colour at Round 22 and tie a bow in the front of the shorts.
Ears (make 2)
Use light grey yarn.
Row 1: Chain 9
Row 2: Starting from the second chain in the hook, HDC in each chain. Chain 1, turn. (8)
Row 3: HDC INC in the first stitch, HDC in the next 6 stitches, HDC INC in the last stitch. Chain 1, turn. (10)
Row 4: HDC INC in the first stitch, HDC in the next 8 stitches, HDC INC in the last stitch. Chain 1, turn. (12)
Row 5: HDC INC in the first stitch, HDC in the next 10 stitches, HDC INC in the last stitch. Chain 1, turn. (14)
Row 6: HDC INC in the first stitch, HDC in the next 12 stitches, HDC INC in the last stitch. Chain 1, turn. (16)
Row 7: HDC INC in the first stitch, HDC in the next 14 stitches, HDC INC in the last stitch. Chain 1, turn. (18)
Row 8: HDC INC in the first stitch, HDC in the next 16 stitches, HDC INC in the last stitch. Chain 1, turn. (20)
Row 9: HDC INC in the first stitch, HDC in the next 18 stitches, HDC INC in the last stitch. (22)
Chain 1 and SC around the three shorter sides of the ear. Fasten off and leave a long tail for sewing.
Fold the ear from point A to point B, as shown in the picture below and sew closed. The ends don’t line up perfectly straight and that’s okay. You won’t even notice when the ear is sewn onto the head.
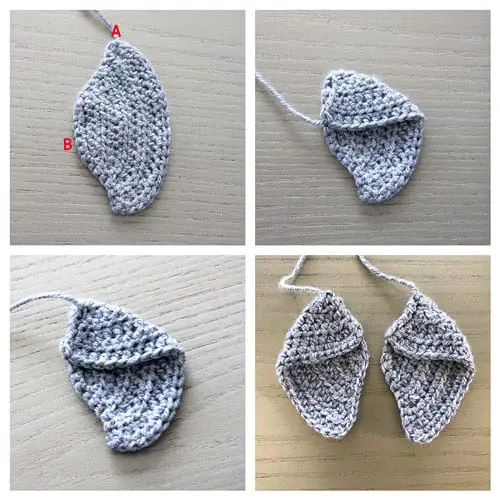
For the second ear, fold in the opposite direction so that the ears are facing in opposite directions.
Sew the ears on to the body between rows 7 and 14 of the head. The ear ends right above the eye.
Tail
Use light grey yarn.
Row 1: Chain 12
Row 2: Starting from the second chain from the hook, 11 SC
Fasten off and leave a long tail for sewing.
Cut three strands of yarn approximately 3 inches in length. Fold them in half and latch them through the end of the tail and cut them so they are approximately a quarter inch each. See our tutorial on how to latch hair for amigurumi. Sew the tail on the back of the body at Round 22 and trim to your desired length.

Your Elzo crochet elephant is now complete! We hope you enjoyed this free pattern! We would love to see your finished amigurumi elephant, so share it in our Facebook group Amigurumi with Chai Coffee Crochet or tag us on Instagram @chaicoffeecrochet
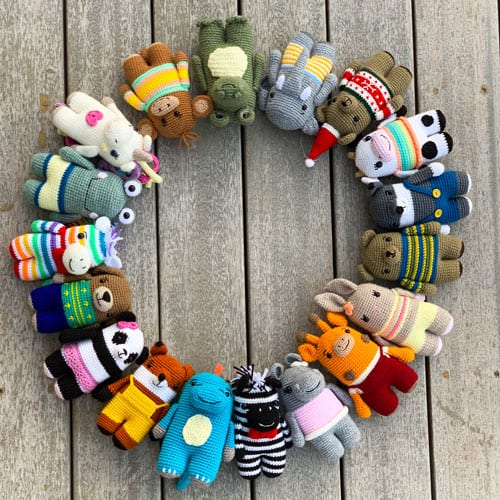
If you enjoyed this free pattern, why not try more amigurumi animals in our Juna Series.