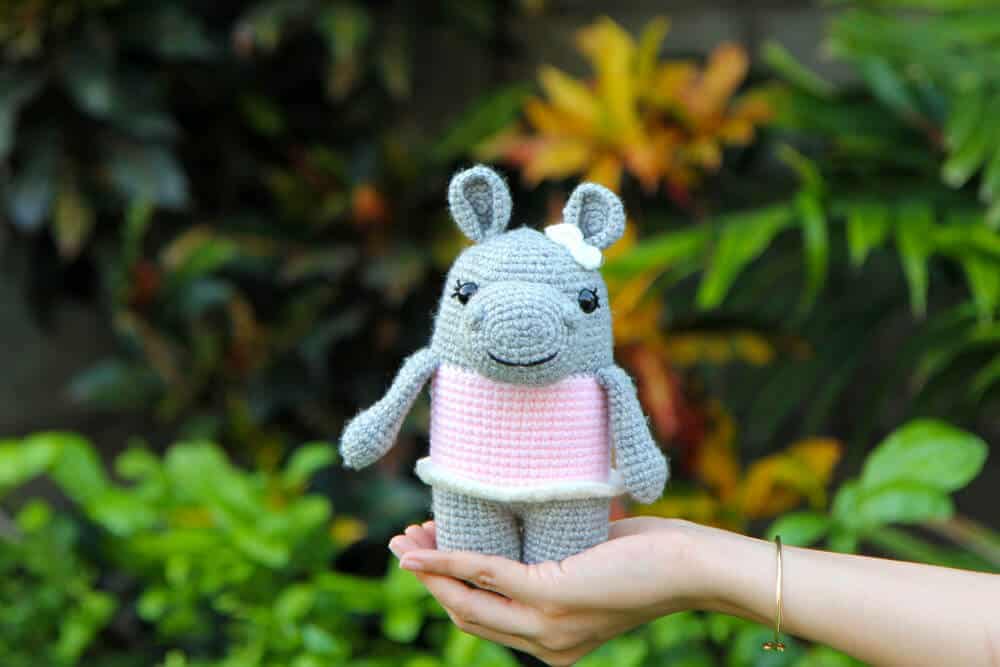
Crochet a hippo amigurumi with us!
Hattie the crochet hippo has joined our Juna Series of crochet animals in this free amigurumi pattern! Amigurumi hippos are so cute. Real hippos are scary but when you make a crochet hippopotamus – you just want to cuddle it forever. There’s something so comical about the big muzzle and nostrils. And then throw a dress and bow onto your amigurumi hippo – and it’s a cuteness overload! lol.
Of course, our stuffed crochet hippo is very feminine. But you can interchange her outfit for any of the other animals in the series to crochet a hippo that is more gender neutral. We love playing around with the different outfits on all of our amigurumi animals – giving you unlimited permutations!
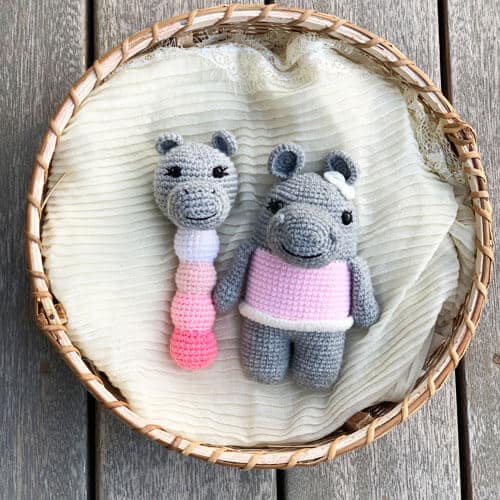
Looking for something for a baby? Why not pair your amigurumi hippo toy with a matching crochet hippo baby rattle for a very cute amigurumi baby gift set.
About this Crochet Hippo Pattern
This amigurumi hippo is approximately 8 inches tall, using DK yarn and a 2.75 mm hook. However, you can use any yarn with the relevant hook that you like. However, the size of your hippo may vary slightly.
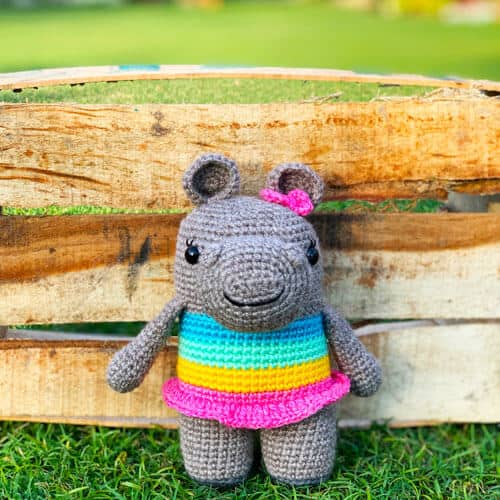
Our hippo is crocheted in one piece from the legs to the head – we even have an option to crochet the arms in rather than sew them in. It’s really fun to customize the colours of the dress – we’ve recently enjoyed crocheting the hippo’s dress in rainbow colours by switching up the colours every three rows!
This pattern is quite easy and is one that beginners will enjoy crocheting. The muzzle is probably the trickiest part, with it being crocheted around a chain. However, we have a tutorial on how to crochet ovals which will make it super easy to do!
We really hope you enjoy crocheting our hippo plushie!
If you would like an ads-free, print-friendly PDF version of our pattern, you can buy it from our Ravelry store.
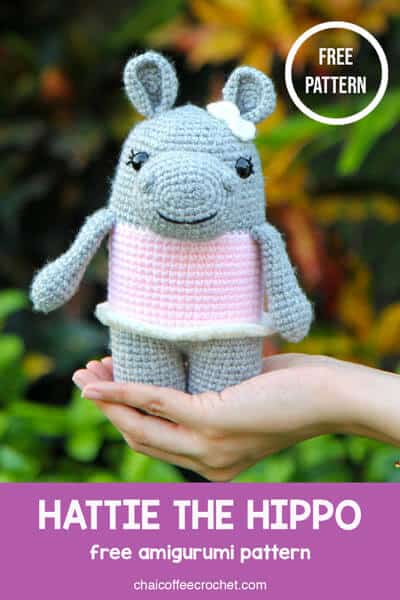
Want to save this pattern for later? Save this pin to your Pinterest
If you want to stay updated on our new patterns and Crochet Alongs (CALS), join our Facebook group Amigurumi with Chai Coffee Crochet or follow us on Facebook, Pinterest, and Instagram.
This pattern is for your personal use only and cannot be sold, copied, or reproduced in anyway without permission from the designers.
Crochet Hippo Free Pattern
Tools & Supplied You Will Need
- Yarn: You need approximately 50 grams of DK yarn in grey and a small amount in pink and white. I use DK yarn but worsted weight/aran yarn will work just as well.
- Crochet hook: For amigurumi, you typically go down one or two hook sizes from that recommended on your yarn label.
- Tapestry needle
- Stitch marker: You can use a locking stitch marker but even a scrap of yarn will do! This pattern is worked in the round, so place a stitch marker at the first stitch of each round so that you can keep track of where each row begins.
- Polyfill stuffing
- Safety eyes: I use 12 mm safety eyes or you can crochet eyes for children under 3
- Embroidery thread: A small amount of black for eyelashes.
Crochet Stitches and Abbreviations
Sl st: Slip stitch
SC: single crochet
INV DEC: invisible decrease
INC: two SC in the same stitch
DC: double crochet
DC INC: two DC in the same stitch
TR: triple crochet
BLO: back loops only
How to crochet a hippo amigurumi
Muzzle
Tip: The base shape of the muzzle is an oval, so we will be crocheting around chain, rather than a magic circle as we usually do with amigurumi. If you are new to crocheting around a chain, we have a tutorial on how to crochet an oval for amigurumi.
Use grey yarn
Round 1: Chain 6. Starting from the second chain from the hook, 4 SC, 3 SC in the next chain as your work turns. Now continue on the other side of the chain. 3 SC and INC in the last chain (12)
Round 2: INC, 3 SC, INC, INC, INC, 3 SC, INC, INC (18)
Round 3: INC, 5 SC, INC, 2 SC, INC, 5 SC, INC, 2 SC (22)
Round 4: INC, 7 SC, INC, 2 SC, INC, 7 SC, INC, 2 SC (26)
Round 5: INC, 8 SC, (INC, SC) twice, INC, 8 SC, (INC, SC) twice (32)
Round 6: INC, 10 SC, INC, 2 SC, INC, SC, INC, 10 SC, INC, 2 SC, INC, SC (38)
Round 7: INC, 12 SC, (INC, 2 SC) twice, INC, 12 SC, (INC, 2 SC) twice (44)
Round 8: SC in each stitch around (44)
Round 9: (20 SC, DEC) twice (42)
Round 10: (5 SC, DEC) six times (36)
Round 11: (4 SC, DEC) six times (30)
Round 12: (3 SC, DEC) six times (24)
Round 13: (2 SC, DEC) six times (18)
Fasten off and leave a long tail for sewing.
Arms (make 2)
Using grey yarn
Round 1: SC 6 into a magic circle (6)
Round 2: INC in each stitch around (12)
Round 3: (5 SC, INC) twice (14)
Round 4-5 (2 rounds): SC around (14)
Round 6: (5 SC, INVDEC) twice (12) Stuff the bottom of the arms lightly.
Round 7: (4 SC, INVDEC) twice (10)
Round 8-16 (9 rounds): SC around (10)
Tip: If you want to attach the arms to your hippo using crochet when you make the body (it’s a really easy no-sew way!), see our tutorial on crocheting arms to your amigurumi to see how to finish off the arms.
If you prefer to sew the arms to your hippo, fasten off and leave a long tail for sewing. Do not stuff the rest of the arm.
Legs (make 2)
Stuff legs lightly as you go.
Use grey yarn.
Round 1: SC 6 into a magic circle (6)
Round 2: INC in each stitch around (12)
Round 3: (SC, INC) six times (18)
Round 4: (2 SC, INC) six times (24)
Round 5: SC around BLO (24)
Rounds 6-12 (7 rounds): SC around (24)
Fasten off for the first leg.
Repeat rounds 1-12 for the second leg but don’t fasten off.
Body
We will now attach the legs of our crochet hippos. If this is your first time doing this, we have a tutorial on how to join legs for amigurumi.
Round 13: Sl st into the first unworked stitch of the first leg. SC in the remaining 23 stitches of the first leg and the 24 stitches of the second leg. (48)
Round 14-16 (3 rounds): SC around (48) Change to white.
Round 17: SC in each stitch around (48)
Round 18: SC in each stitch around in BLO (48) Change to pink.
Round 19-29: (11 rounds): SC in each stitch around (48) Change to grey.
Round 30: SC in each stitch around in BLO (48)
*If you are crocheting on the arms for your dinosaur, you will attach them in Round 30. See the tutorial on how to crochet on the arms for instructions. If you are planning on sewing on the arms, you will sew them on once we are done with the body.
Rounds 31-41 (11 rounds): SC in each stitch around (48)
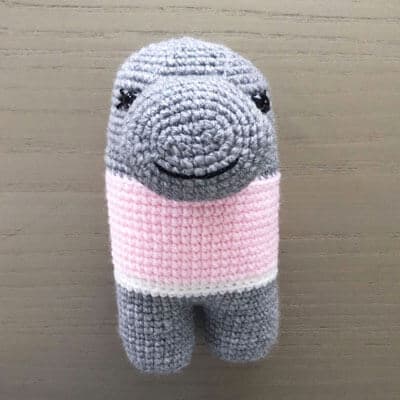
At this point, stuff the muzzle and sew it right above the colour change from pink to grey, centred to the front of your amigurumi hippo. Now that you have your muzzle in place, insert your safety eyes (but don’t insert the washer) between Rounds 38 and 39 so that they are evenly spaced on either side of the muzzle, approximately 13 stitches apart. Once you have finalized their placement, remove the safety eyes and embroider on lashes. Put the safety eyes back in and insert the washers. Embroider the mouth on at approximately Round 3 of the muzzle. Stuff the body.
Round 42: (SC 6, INVDEC) six times (42)
Round 43: (SC 5, INVDEC) six times (36)
Round 44: (SC 4, INVDEC) six times (30)
Round 45: (SC 3, INVDEC) six times (24)
Round 46: (SC 2, INVDEC) six times (18)
Round 47: (SC, INVDEC) six times (12)
Round 48: INVDEC six times (6)
Fasten off. Insert needle in front loop of each stitch and pull tight to close. If you haven’t yet attached the arms, sew them on between Rounds 29 and 30.
Nostrils (make 2)
Using grey yarn
SC 5 into a magic circle and sl st to the first SC. Fasten off and leave a long tail for sewing. Sew onto both sides of the muzzle, at approximately the top of Round 4.
Ear (make 2)
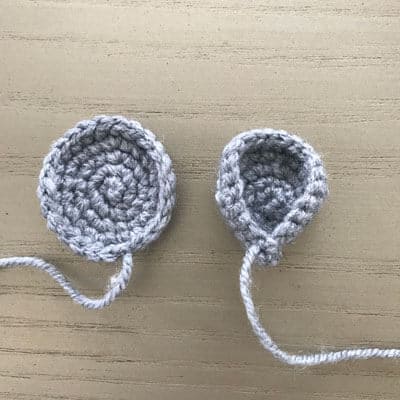
Using grey yarn
Round 1: SC 6 into a magic circle (6)
Round 2: INC in each stitch around (12)
Round 3: (SC, INC) six times (18)
Round 4: (2 SC, INC) six times (24)
Round 5: SC in each stitch around (24)
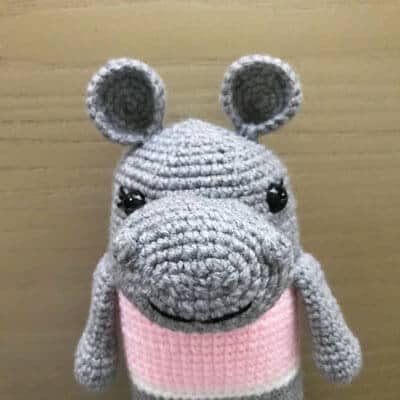
Fasten off and leave a long tail for sewing. Fold each ear and sew the edges together. Sew onto the hippo’s head, at approximately the third round from the top.
Skirt
Using white yarn.
Attach yarn centred at the back of the hippo in the front loops from Round 18. Chain 2 and (DC INC, DC) twenty-four times around (72). Sl st to the first stitch and fasten off. Weave in the ends.
Bow
Using white yarn
In a magic circle, (Chain 3, TR, chain 3, sl st) twice. Fasten off and leave a long tail. Wrap tail around the middle of the two sections of your bow and sew the bow onto one ear of your hippo.
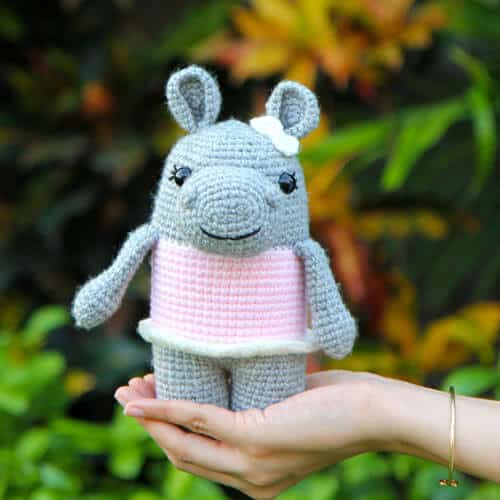
Your crochet hippo is now complete! We hope you enjoyed this amigurumi hippo free pattern! We would love to see your finished crocheted hippos, so share them them in our Facebook group Amigurumi with Chai Coffee Crochet or tag us on Instagram @chaicoffeecrochet
If you enjoyed this pattern, why not try some of the other animals in our Juna series of crochet animals?
