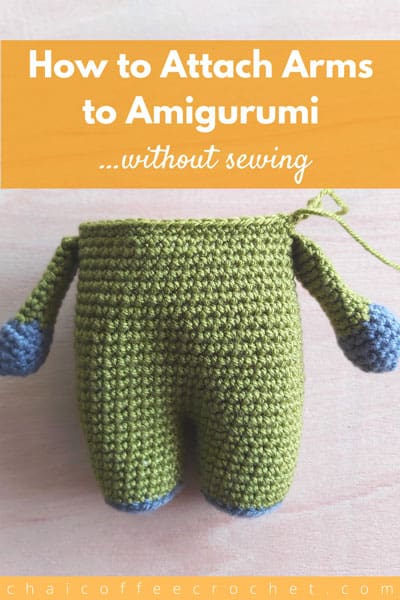
Learn how to crochet Arms and Body Parts on Amigurumi without sewing!
If you love to crochet but hate to sew, you’re not alone! I don’t know about you, but sometimes I have lots of amigurumi limbs lying around because I just can’t get motivated to sew them on. While I love no sew amigurumi patterns, I also wish I could minimize sewing on my other patterns.
Well, we have some good news – this tutorial will show you how to crochet on arms and other body parts of amigurumi instead of sewing them – so that you have one less thing to sew. Even if they don’t become no-sew, they can certainly become low-sew amigurumi patterns! Yay!
This tutorial can be applied to attaching any amigurumi pieces that are attached horizontally to your project (so that they are attached on the same row). Unfortunately, for those that cut across multiple rounds sewing is the only way – lol.
Also, if you want to know how to join legs for your dolls and toys you can find that here.
So let’s begin on our no sew tutorial to attach arms to your amigurumi.
Want to save this tutorial for later? Save this pin to your Pinterest board.
How to Crochet Arms and other limbs before Attaching
In this example we will show you how to crochet on arms to your amigurumi but this method will work with other body parts such as the ears for Dash the crochet Dog or the trunk and tusks for our crochet elephant Elzo.
Note: To use this method, you must crochet the arms or other limbs that you want to crochet onto your amigurumi before you crochet the body. So even if the pattern instructions have the limb instructions listed after the body, to do this you must crochet the limbs first, as you will attach them as you crochet the body.
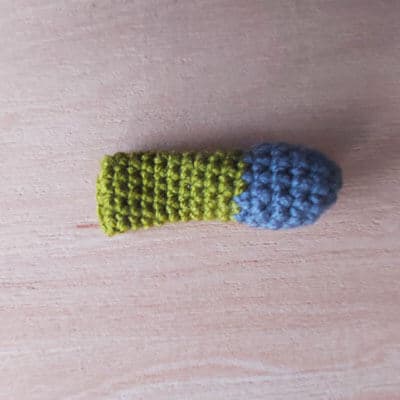
Step 1: Follow the pattern for the arm but, when you reach the last round, do not fasten off.
Step 2: If you’re crocheting an arm with a thumb (like with our Zayd crochet doll), single crochet until you’re at the side of your arm. For arms that do not have thumbs, such as our Juna Series animals, there is no side so you can skip this step.
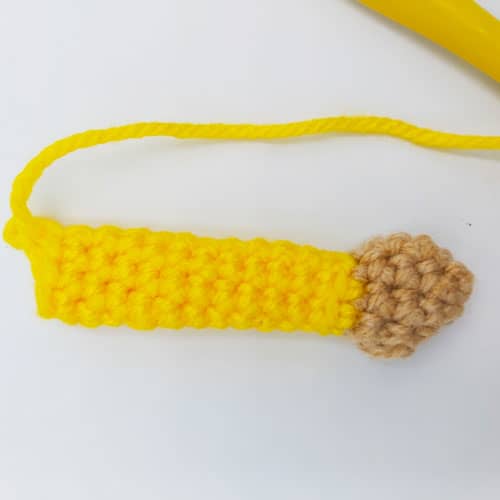
Step 3: If your pattern requires the arms to be stuffed at all, ensure that you have stuffed them.
Step 4: Pinch the top of the arm closed and chain 1. SC through the stitches on both sides to close the arm. (So for this arm which was 10 SC around in the last round, you will crochet 5 SC to close the arm. If the number of stitches are odd – like on the arms for our Zoya crochet ballerina doll – you just skip one stitch and crochet through both sides to to close the arm.)
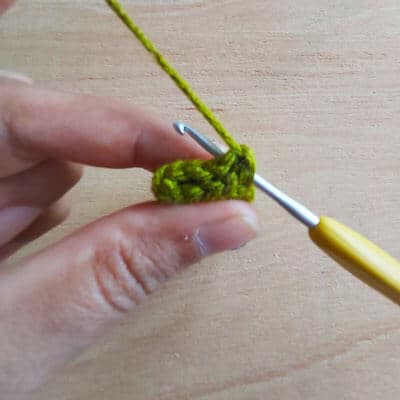
Step 4: Fasten off and weave in the ends.
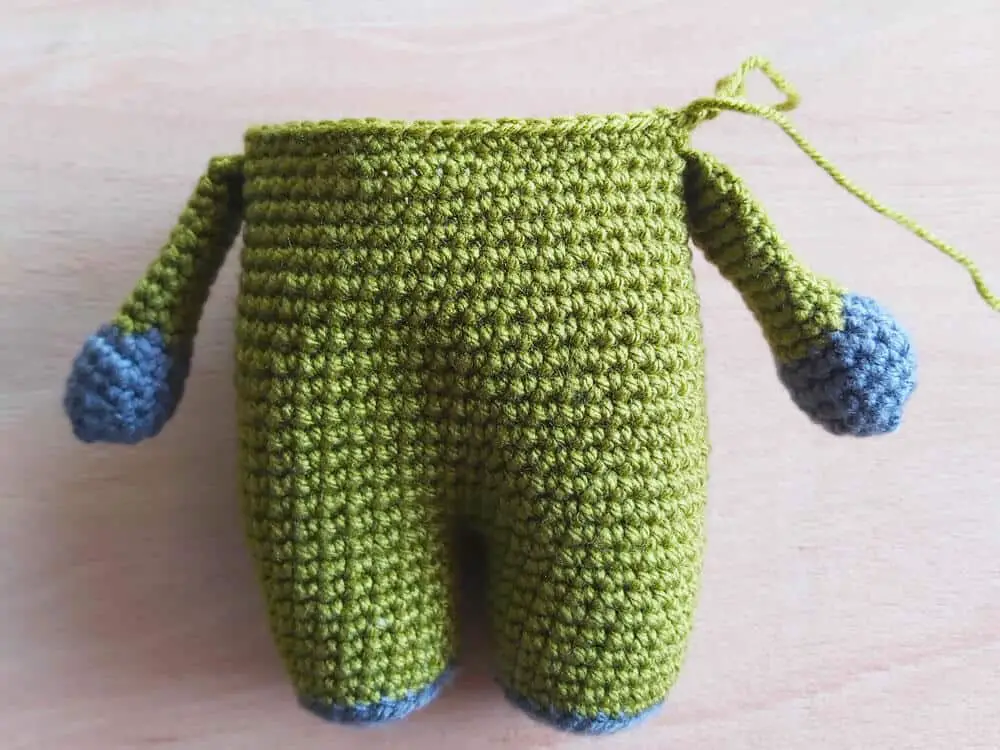
How to Crochet the Arms onto the Body of your Amigurumi
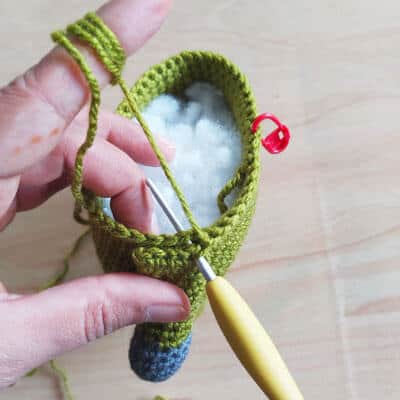
When you’re crocheting the body and you come to the Round where the arm is attached. Once you get to the side of the body where you would place your arms, attach the arm by crocheting through both the stitches in the arm and the body. Do the same for the second arm on the other side of the body and finish the round.
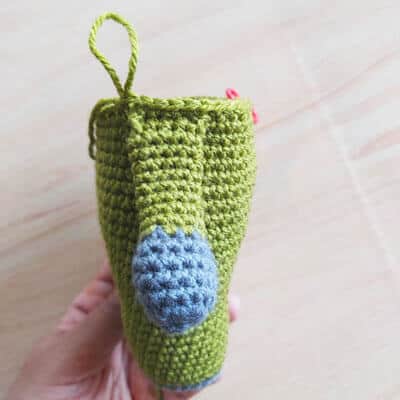
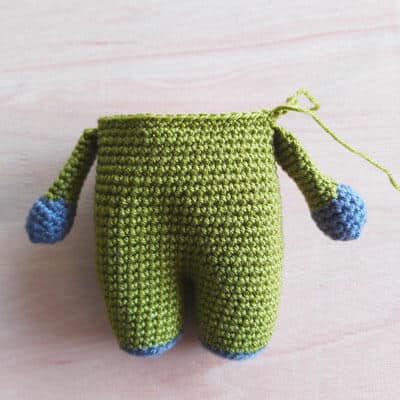
Your arms are now attached to your amigurumi! Continue crocheting your toy as the pattern instructs. You now have one less thing to sew on – yay!
We hope this tutorial was helpful!