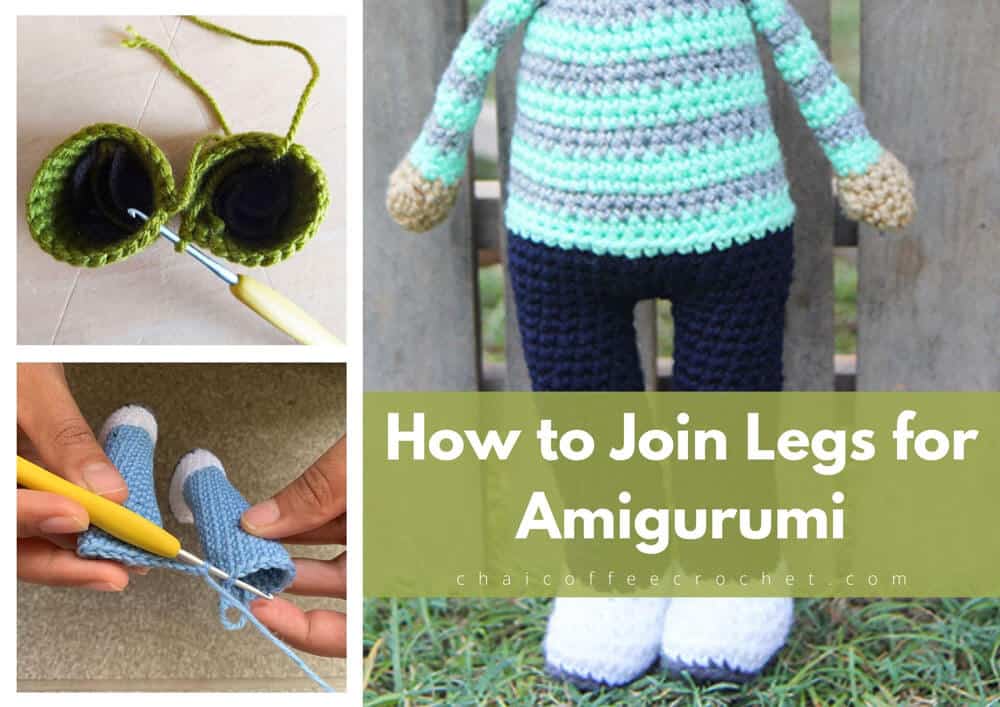
In this tutorial, we will show you how to join legs for amigurumi, step-by-step. Joining legs for crochet dolls and toys can be really overwhelming if you haven’t done it before. But it’s really quite easy.
In this tutorial, we will show you how to join legs for amigurumi without sewing (because who likes to sew?). This tutorial is for patterns that are worked in one piece from the leg down. We will look at two different methods for joining the legs. The method that you use with be dependant on your pattern.
- Joining Legs for Amigurumi without Chains: This is when you have two legs and you join them by crocheting around both pieces and you don’t have chains between the two legs, joining them. This is a very easy technique and is the technique that we use in our Juna Series of easy amigurumi animals.
- Joining Legs for Amigurumi with Chains: This is when you join two legs together having chain stitches between them and then working around both the legs and both sides of the chain stitches. This is the method that we use in our Zoya and Zayd crochet dolls series, our Kozu Palm Pals mini dolls series, and our Kozu Palm Pets series of small animals.
We don’t cover sewing on crochet legs ont amigurumi in this tutorial. However, you can look at our tutorial on how to attach limbs to amigurumi without sewing to see if you can crochet on the legs for those patterns, thereby reducing the sewing!
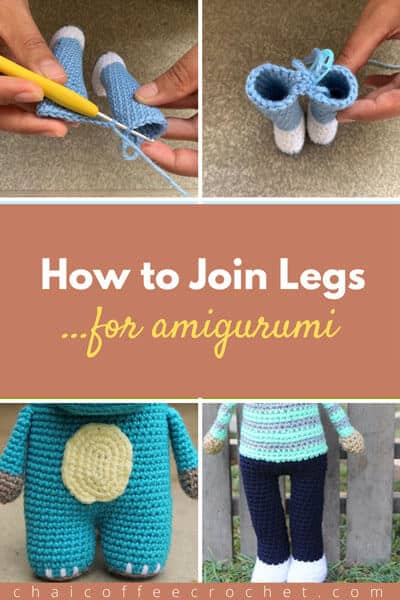
Want to save this tutorial for later? Save it to your Pinterest Board.
Joining Legs for Amigurumi without Chains
Directly joining legs for amigurumi is a method that we use for our Juna Series of amigurumi animals. This is a really simple method, as you’re literally just crocheting around the two legs. This method may leave a hole between the legs so you can use the leftover yarn tail from your first leg to sew the hole closed.
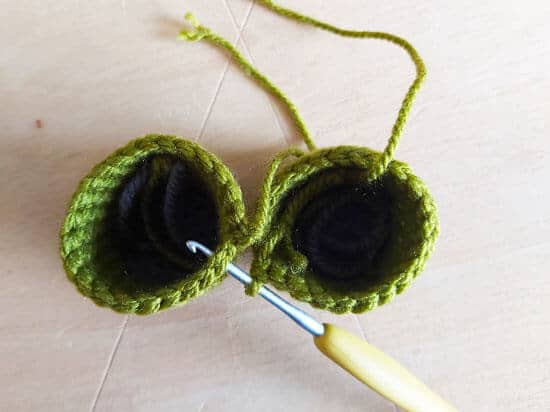
Step 1
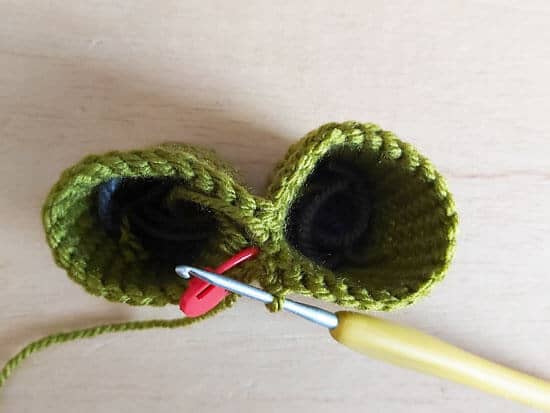
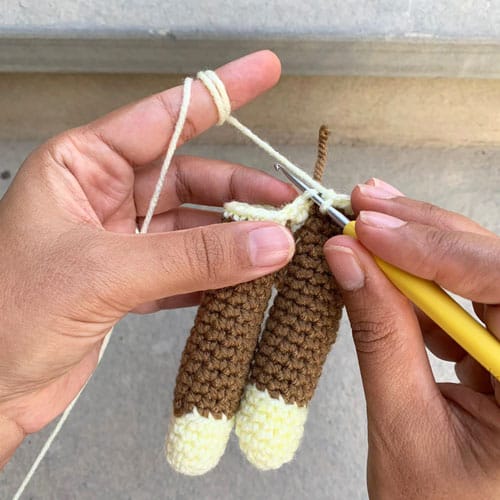
You begin after you crochet both the legs. You have fastened off for Leg 1 but you haven’t fastened off for Leg 2. You now insert your hook into the last unworked stitch of Leg 1 and slip stitch. Insert the stitch marker, as this is the first stitch of your next round.
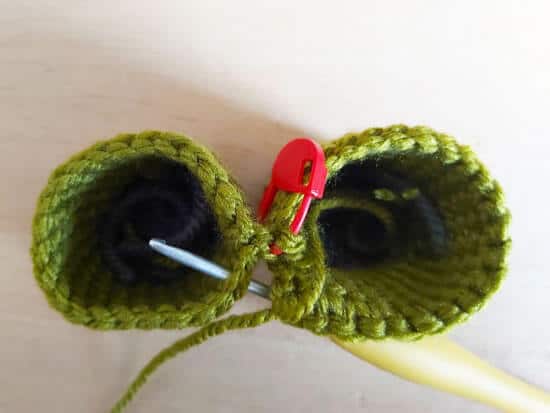
Step 2
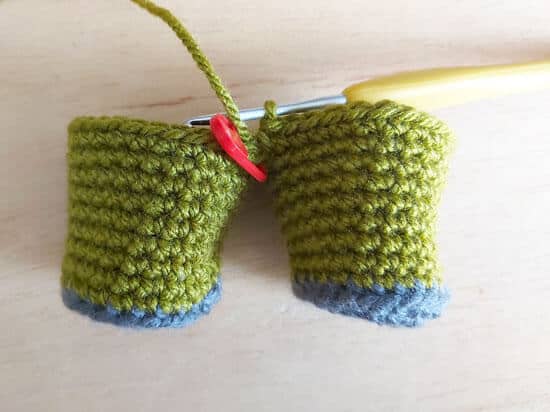
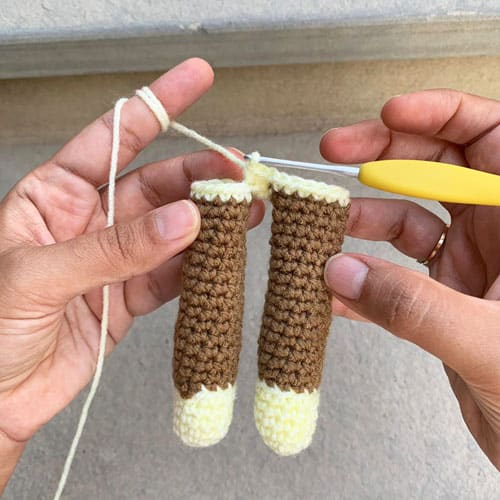
You now continue crocheting around the remaining stitches of Leg 1 and insert your hook into the first unworked stitch of Leg 2 and single crochet.
Step 3
You now continue crocheting around Leg 2.
Your legs are now joined!
Joining Crochet Doll Legs using Chains
The next method we will show you is how to join legs for your crochet doll using chains. Using chains make for a wider torso (sort of like crocheting an oval) and is a very common method on a number of patterns. While the number of stitches vary for these patterns and the number of chains used to join the legs, the method is the same.
We will show you the method using our Zoya ballerina crochet doll as an example:
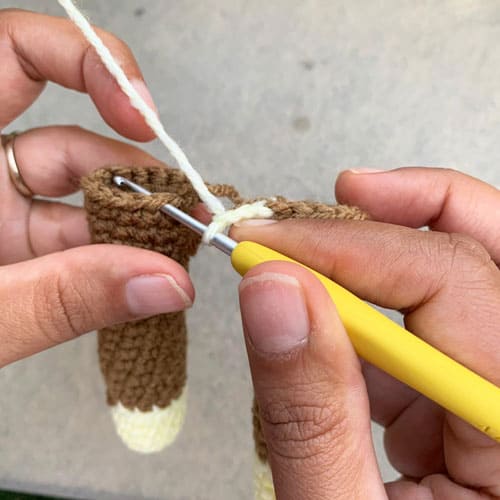
Step 1: Chain 3 (or the number of chain required by your pattern) and SC into the first unworked stitch of the other leg. SC in each stitch around the leg.
Step 2: SC in each of the three chains that were used to join the legs
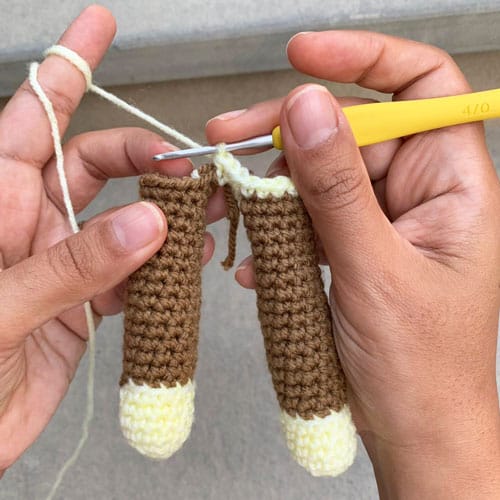
Step 3: SC around the next leg and into the back loop of each of the chains on the other side.
Step 4: Your legs for your crochet doll are now joined! Continue with your pattern as instructed.
We hope you found this tutorial helpful!