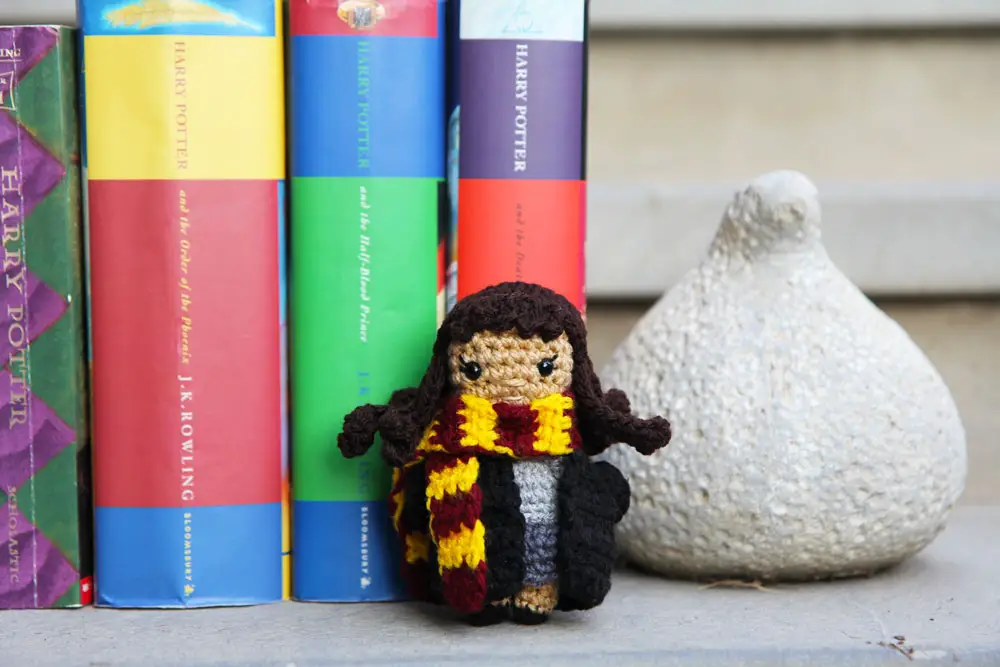
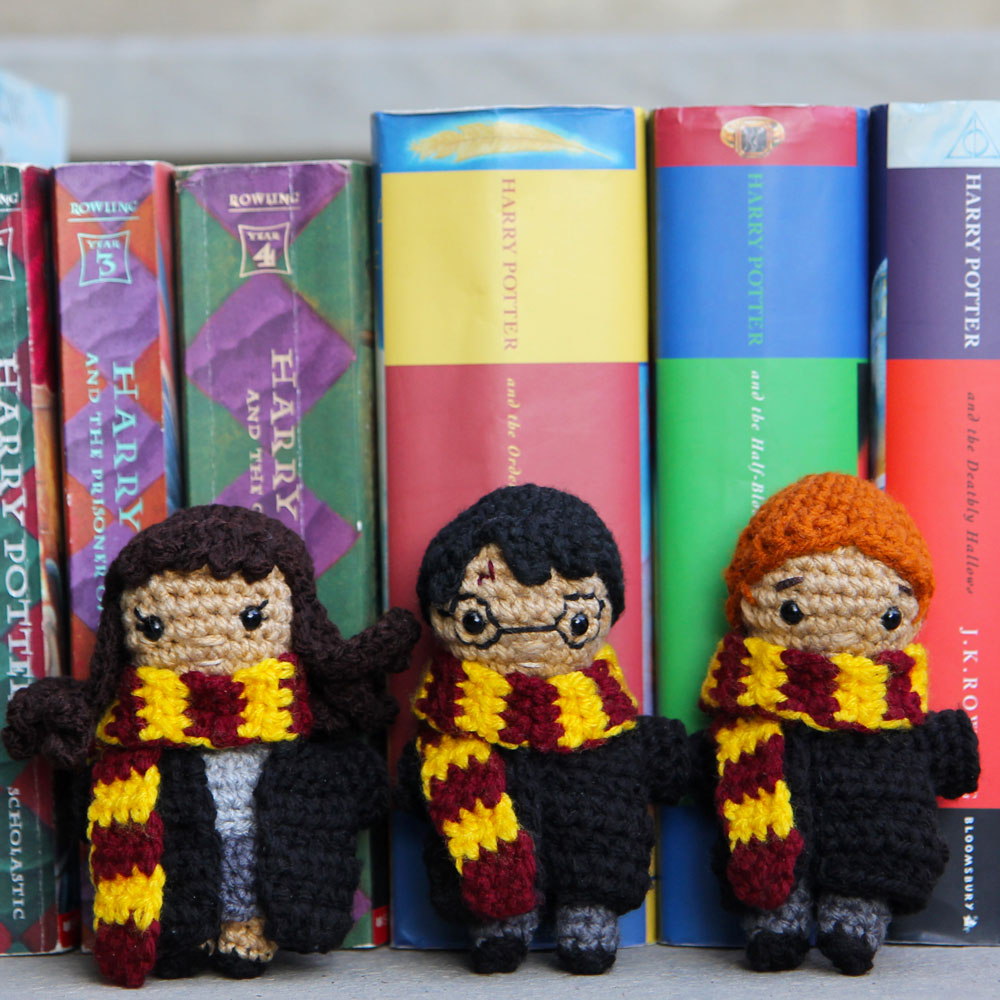
This mini Hermione Granger crochet doll from our Kozu Palm Pals series is the third doll in our Harry Potter mini crochet doll set. Hermione is the brave and brainy heart of our magical trio.
At only 4.5 inches tall, this free pattern is quick, easy, and so adorable! Don’t forget to complete the set with our Harry Potter crochet doll and Ron Weasley crochet doll.
If you would like an ads-free, print-friendly PDF version of our Harry Potter mini crochet dolls patterns (3 patterns in 1!), you can buy it from our Ravelry store.
Want to save this pattern for later? Save this pin to your Pinterest crochet board.
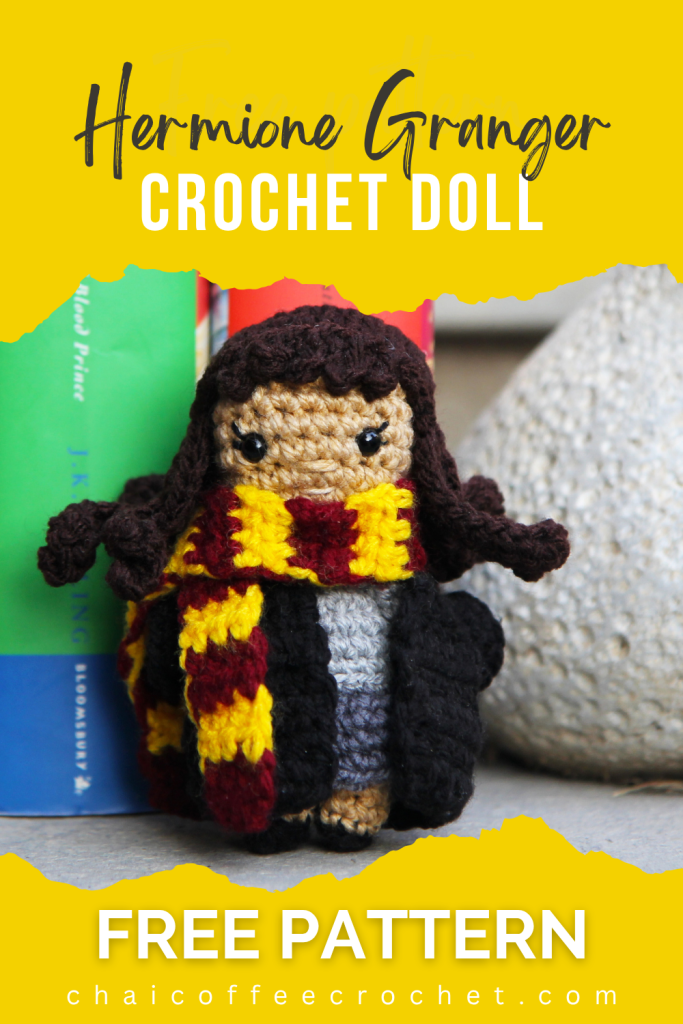
Hermione Granger Crochet Doll Free Pattern
This pattern is for your personal use only and cannot be sold, copied, or reproduced in any way without permission from the designers. You may sell finished objects made from this pattern in small quantities but please give credit to chaicoffeecrochet.com as the pattern designer.
Tools & Supplies You Need to Crochet a Hermione Doll
- Yarn: You need a very small amount of DK yarn in skin colour, brown, black, light grey, dark grey, red, and yellow.
- 2.5 mm crochet hook
- Tapestry needle
- Stitch marker
- Polyfill stuffing
- Two 6 mm safety eyes
- Embroidery thread: A small amount of black for eyelashes and light pink for lips.
Stitches & Abbreviations Used
This pattern is written in US terms.
Sl st: slip stitch
SC: single crochet
INV DEC: invisible decrease
INC: two SC in the same stitch
BLO: back loops only
HDC: half double crochet
Finished size: Approximately 4.5 inches tall.
Hermione Doll Pattern Notes
About the Pattern
- Difficulty level: Familiar Beginner
- Finished size: Approximately 4.5 inches tall, using DK yarn.
- This pattern is written in US terms
- This pattern is crocheted in continuous rounds unless specified otherwise. Use a stitch marker on the first stitch of every round so that you don’t lose track of the start of your round.
Yarn and Sizing Adaptations
- This doll was made using DK yarn. However, you may use any yarn with the relevant hook (usually, for amigurumi you go down 2-3 sizes from that recommended on the yarn label).
- Sizing adaptations: You can make this doll in multiple sizes. With DK yarn and a 2.75mm hook, it turns out to be approximately 4.5 inches tall. With super bulky blanket yarn with a 7 mm hook, it will be approximately 12 inches tall.
Tips and Pattern Adaptations
- The arms can be a little fiddly since they are very small. If you are having trouble making them, you can try crocheting 5 SC in each round, which will result in slightly larger arm but will still look cute.
- Pattern Adaptations: This doll is part of the Kozu Palm Pals crochet dolls series. The dolls in the series all have haircaps that are interchangeable, so you have over 15 haircaps to choose from!
How to Crochet a Hermione Doll from Harry Potter
Body
Legs
Stuff as you go.
Begin with black.
Stuff legs lightly as you go.
Round 1: SC 6 into a magic circle (6)
Change to skin colour.
Round 2: SC around in BLO (6)
Round 3-6 (4 rounds): SC around (6).
Fasten off. Make sure that you’ve pulled the magic circle tight so that stuffing doesn’t escape from it. Repeat rounds 1-6 for the second leg but don’t fasten off.
Body
Stuff as you go. We will now be begin joining the legs.
Round 7: Chain 2 and SC in the next unworked stitch of the first leg. Place a stitch marker in this stitch to mark the start of your round. SC in the remaining 5 stitches of the first leg until you reach the chain, SC in each of the 2 chains, SC in the 6 stitches of the next leg, and SC on the other side of each of the two chains until you reach your stitch marker. (16)
Change to dark grey.
Round 8: SC in each stitch around (16)
Change to light grey.
Round 9: SC in each stitch in BLO (16)
Round 10: SC in each stitch in BLO (16)
Round 11-12 (2 rounds): SC in each stitch around (16)
Round 13: (2 SC, INV DEC) four times (12)
Round 14: (2 SC, INV DEC) three times (9)
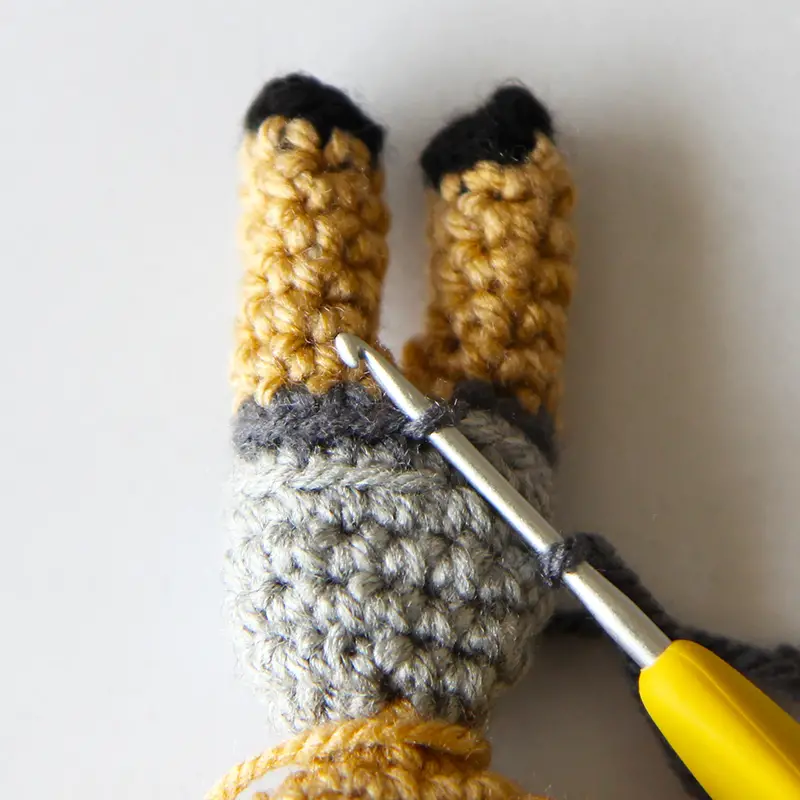
Change to skin colour.
Round 15: (SC, INV DEC) three times (6)
Head
Round 16: INC in each stitch around (12)
Round 17: (SC, INC) six times (18)
Round 18: (2 SC, INC) six times (24)
Round 19-23 (5 rounds): SC in each stitch around (24)
If you’re using safety eyes, place them between Rounds 20 and 21, four stitches apart. Once you are satisfied with the placement of the eyes, remove the eyes and embroider eyelashes. Reinsert the eyes and put the washer firmly on the back.
Ensure that you have stuffed the body well, especially the neck. I use the back of a scissor to get the stuffing in but you can use anything small enough to really push the stuffing in to ensure that the neck is firm! Continue stuffing the head.
Round 24: (2 SC, INV DEC) six times (18)
Round 25: (SC, INV DEC) six times (12)
Ensure that you have stuffed the head well.
Round 26: INV DEC six times (6)
Fasten off and leave a long tail to embroider the nose and ears. Insert needle in front loop of each stitch and pull tight to close.
Arms (make 2)
The arms are made of small tubes, which can sometimes be tricky to make. Planet June has a great tutorial on making these thin tubes here.
Do not stuff
Begin with skin colour.
Round 1: 4 SC into a magic circle (4)
Change to light grey.
Round 2-6 (5 rounds): SC around (4)
Fasten off and leave a long tail for sewing. Sew onto the body between Round 13 and 14.
Skirt
Turn your doll upside down and attach dark grey yarn to the back of the doll, in the unworked front loops from Round 8.
Round 1: (3 SC, INC) four times (20)
Round 2-4 (3 rounds): SC in each stitch around (20)
Fasten off and weave in the ends.
Hair cap & Embroidery
Using brown yarn.
Round 1: 6 SC into a magic circle
Round 2: INC in each stitch around (12)
Round 3: (SC, INC) six times (18)
Round 4: (2 SC, INC) six times (24)
Round 5-7 (3 rounds): SC around (24)
Round 8: The hair cap instructions for this round can be confusing so I’m going to break them down into sections. Please note that the next section of bullet points are all for Round 8 of the hair cap:
- First we will begin by making five bangs in the front of the head: (Chain 4, starting from the second chain on the hook, 3 sl st back down the chain, slip stitch in the next SC in the hair cap) five times
- 3 SC
- Now we will make thirteen long strands of hair: *Chain 15, starting from the second chain from the hook, (4 SC, INC) twice, 4 SC. You should now be at the bottom of your chain. Sl st into the next SC of the hair cap* repeat the part between ** for a total of 13 times
- 3 SC.
- Slip stitch into the first stitch of this Round.
Fasten off and leave a long tail for sewing.
Embroider on the nose one row below the eyes and the mouth about a row below the nose. Sew on the hair cap. Put one stitch into each of the bangs while you are sewing to keep them in place.
Robe
Note: The body of the robe is worked in rows and the turning chains at the start of each row do not count as stitches.
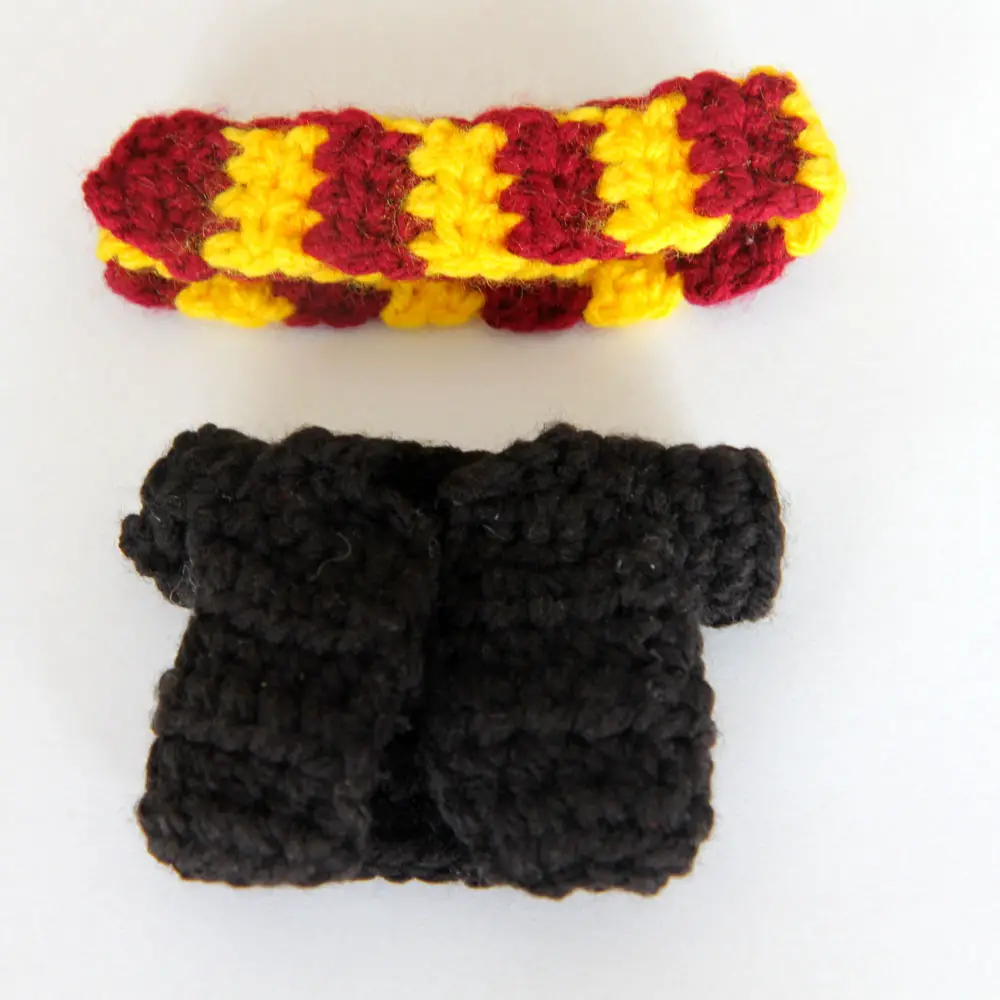
Using black yarn.
Row 1: Chain 17. Starting from the second chain from the hook, 16 SC. Turn. (16)
Row 2: Chain 1. 2 SC, 3 SC in the next stitch, 2 SC, 3 SC in the next stitch, 4 SC, 3 SC in the next stitch, 2 SC, 3 SC in the next stitch, 2 SC. Turn. (24)
Row 3: Chain 1. 5 SC, Chain 4, Skip the next 4 stitches, 6 SC, Chain 4, Skip the next 4 stitches, 5 SC.
Row 4: Chain 2. 5 HDC; 4 HDC (one in each of the 4 chains from the previous row); 6 HDC, 4 HDC (one in each of the 4 chains from the previous row); 5 HDC. Turn. (24)
Row 5-8 (4 rows): Chain 2. HDC in each stitch (24)
Fasten off. Now we will make the sleeves.
Sleeves
Attach black yarn to the first armhole of your robe (in the chain space from Row 3).
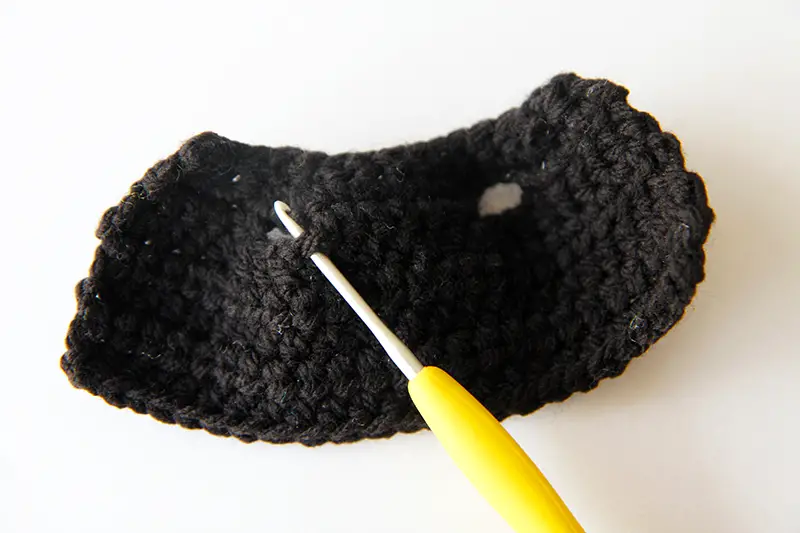
The sleeves are worked in joined rounds.
Round 1: 10 SC around the armhole, evenly spaced. Sl st to the first SC. (10)
Round 2-3: Chain 1. SC in each stitch around (10). Sl st to the first SC of the round
Fasten off. Now repeat for the second sleeve. Weave in the ends.
Gryffindor Scarf
The scarf is worked in rows and the turning chains at the start of each row do not count as stitches.
Note: When making the scarf, I just pull the new colour up when making a colour change because it would be too many ends to weave in! When putting the scarf on your doll, you can place it so that colour changes are on the back and cannot be seen.
Begin with red yarn.
Row 1: Chain 5. Starting from the third chain from the hook, 3 HDC. Turn.
Row 2: Chain 2, 3 HDC. Turn.
Change to yellow
Row 3-4: Chain 2, 3 HDC. Turn.
Change to red
Row 5-6: Chain 2, 3 HDC. Turn.
Change to yellow
Repeat Rows 3-6 until the scarf is the length that you want. I did a total of 42 rows (or 21 blocks of colour, beginning and ending with red). Fasten off and weave in your ends.
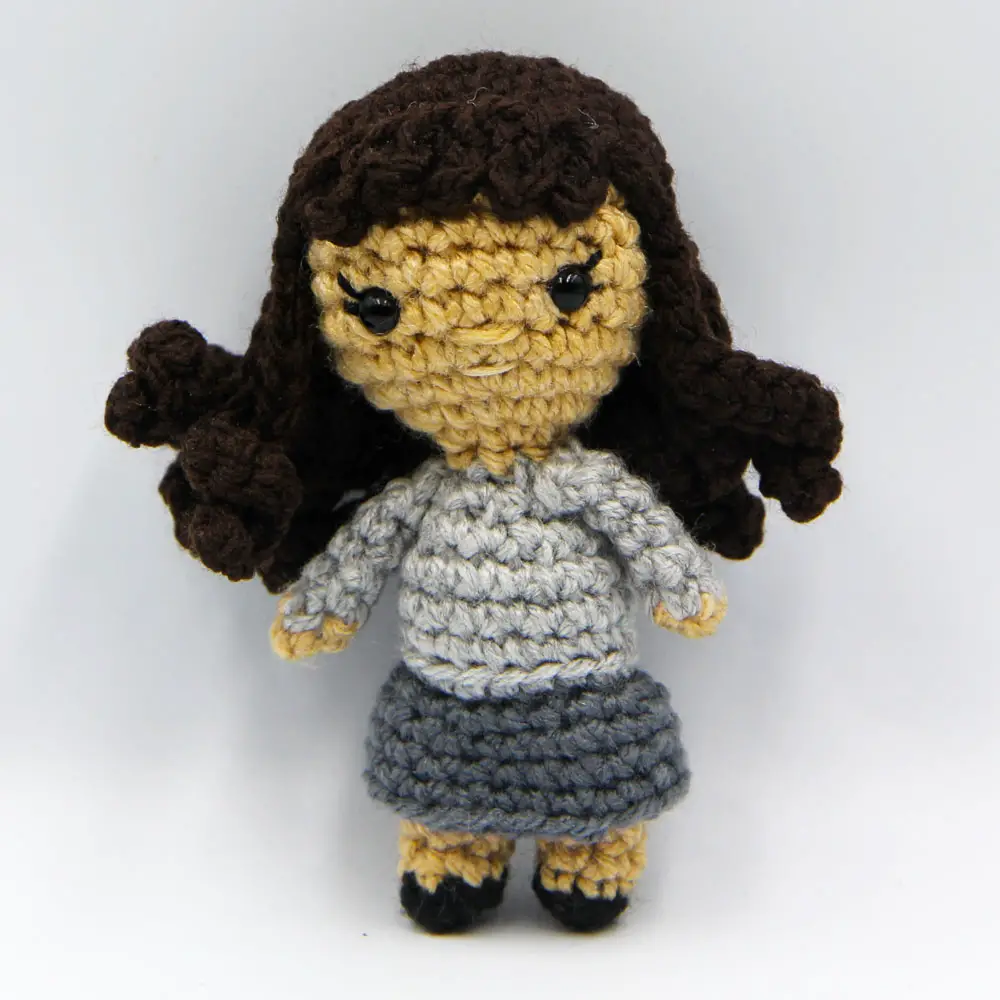
Now dress your Hermione Granger crochet doll in its robe and scarf. If you like, sew the scarf around the neck so that it stays in place. Or, if you would prefer it removable, you could sew a button on the back to hold it in place.
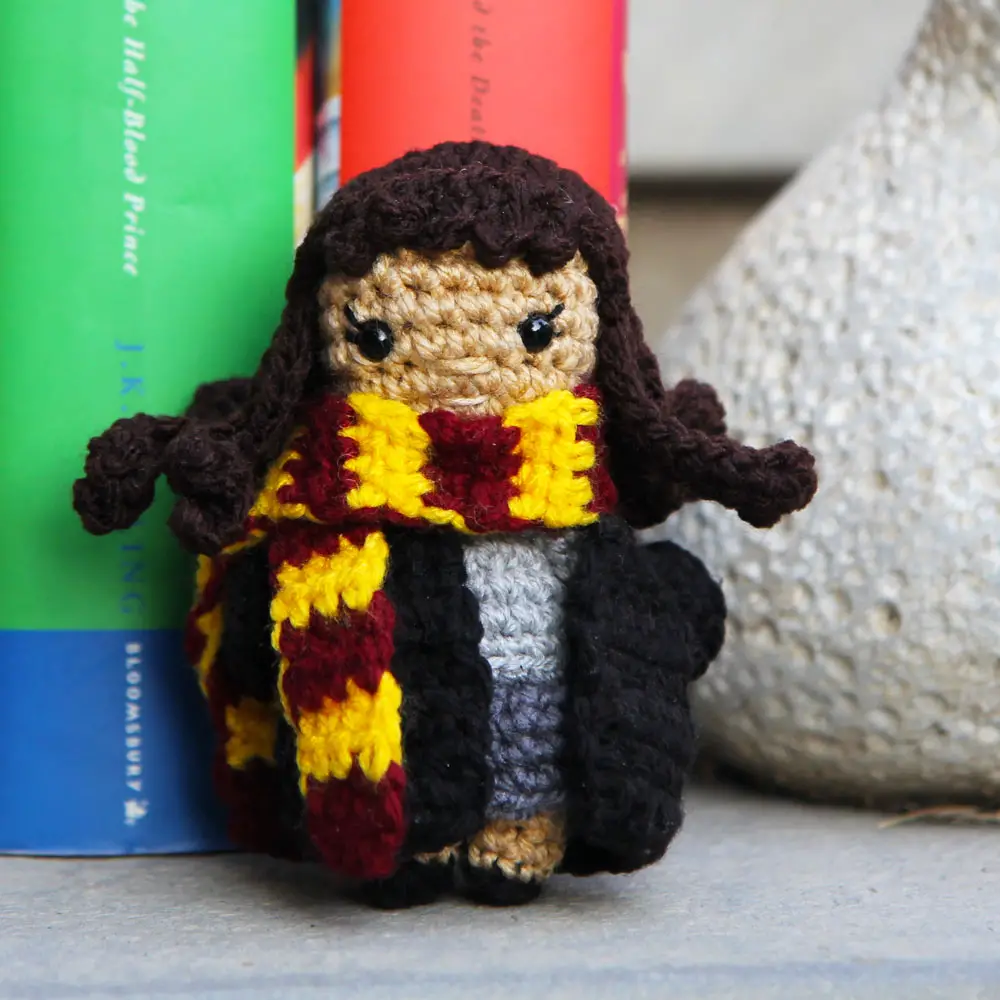
Your Hermione Granger crochet doll is now complete! We hope you enjoyed this free pattern! We would love to see your finished dolls, so share them on our Facebook group Amigurumi with Chai Coffee Crochet or tag us on Instagram @chaicoffeecrochet We like to share a selection of makes from our patterns in our stories and highlights.