
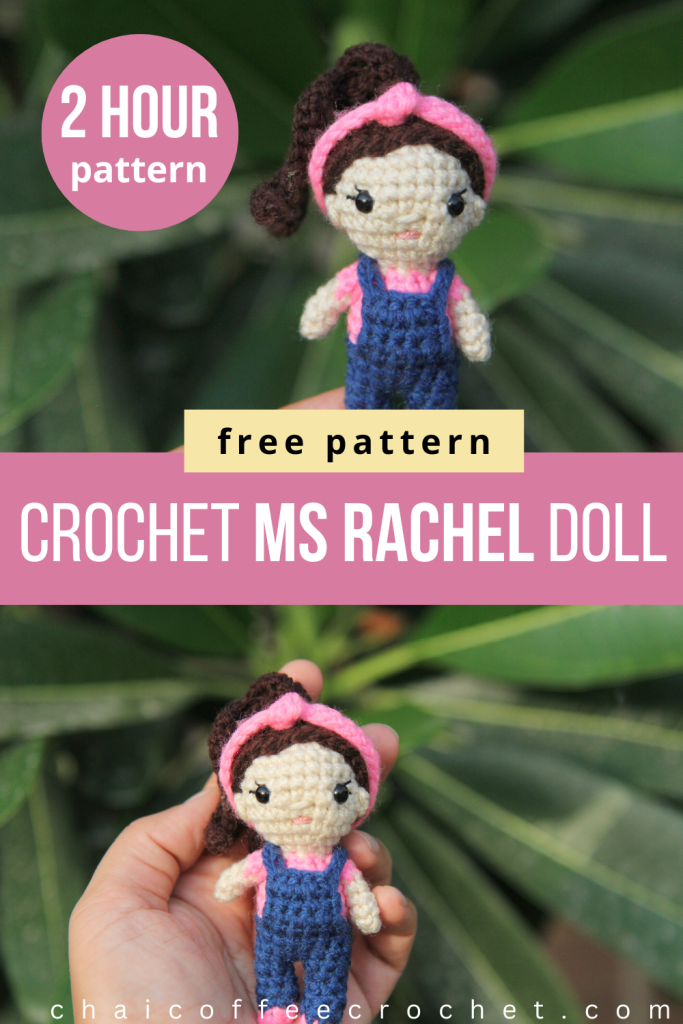
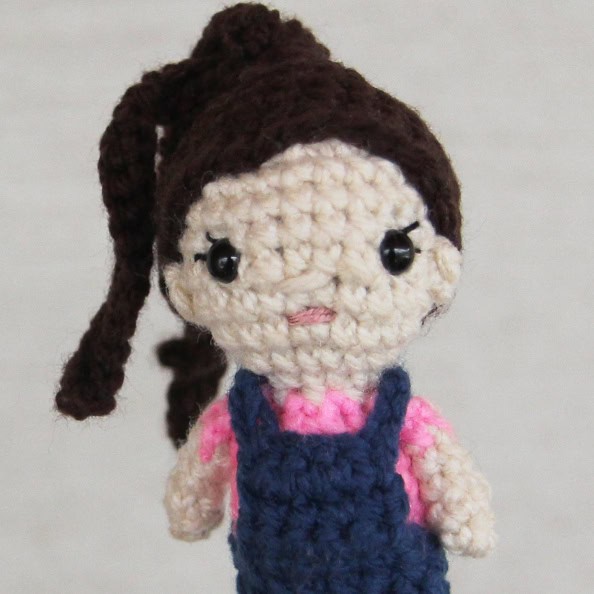
Say hello to the tiniest teacher in town – a crochet Ms. Rachel doll! 🎶
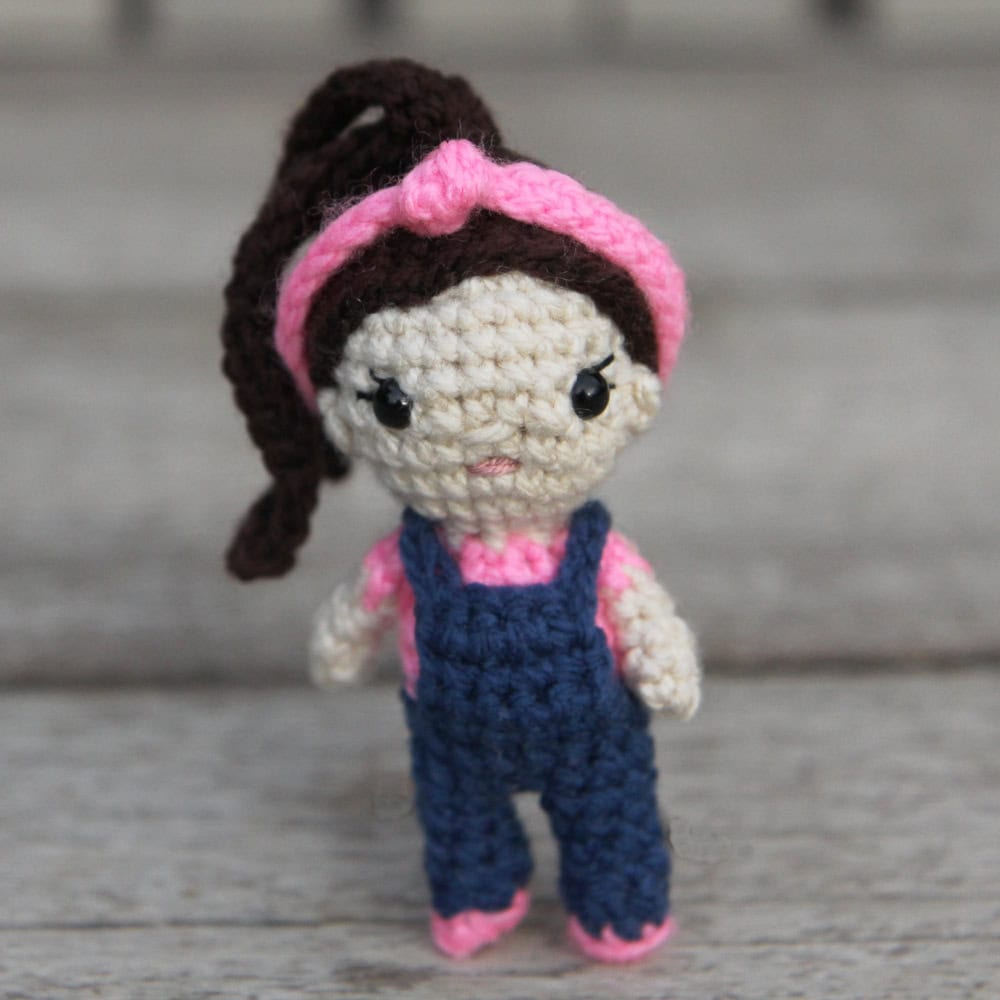
We’re so excited to introduce the newest member of our Kozu Palm Pals series: a small crochet Ms. Rachel doll! Inspired by the incredible children’s educator known for her adorable songs and immense kindness, our small amigurumi Ms Rachel doll has her iconic crochet overalls and pink hairband.
Of course, like all the other dolls in the series, her hair cap is interchangeable with the hair caps of our other dolls. So you can change up the hairstyle and colours and use this pattern to crochet any little doll with overalls – as a mini-me for your little one or just because!
Like the rest of our series, she’s small enough to fit in your pocket and is the perfect size for tiny hands to hold! So grab your hook and let’s get to it – because I’m so happy, oh so happy to crochet Ms. Rachel with youuuuuu! (haha – her songs are so catchy!)
Ms. Rachel Doll Pattern Inspiration
I had been wanting to add an overalls doll to our Kozu Palm Pals series for a while. Our crochet Elf Elliot wears overalls and we have a larger Zoya overalls crochet doll. But I wanted a little girl doll in overalls for this series.
Instead of making a generic doll, I was inspired to crochet it as a Ms. Rachel doll because, aside from being a wonderful children’s entertainer, she is a very inspirational human being. For the last little while, Ms. Rachel has been using her platform to advocate for the children of Gaza who are being brutalized by Israel’s genocide of Palestinians.
She continues to speak out while most celebrities, politicians, and other people with power are staying silent – or condoning this horror! This has led to her being targeted by hateful groups. As she so rightly says, “Speaking out about the suffering of children in Gaza isn’t wrong – staying silent is.”
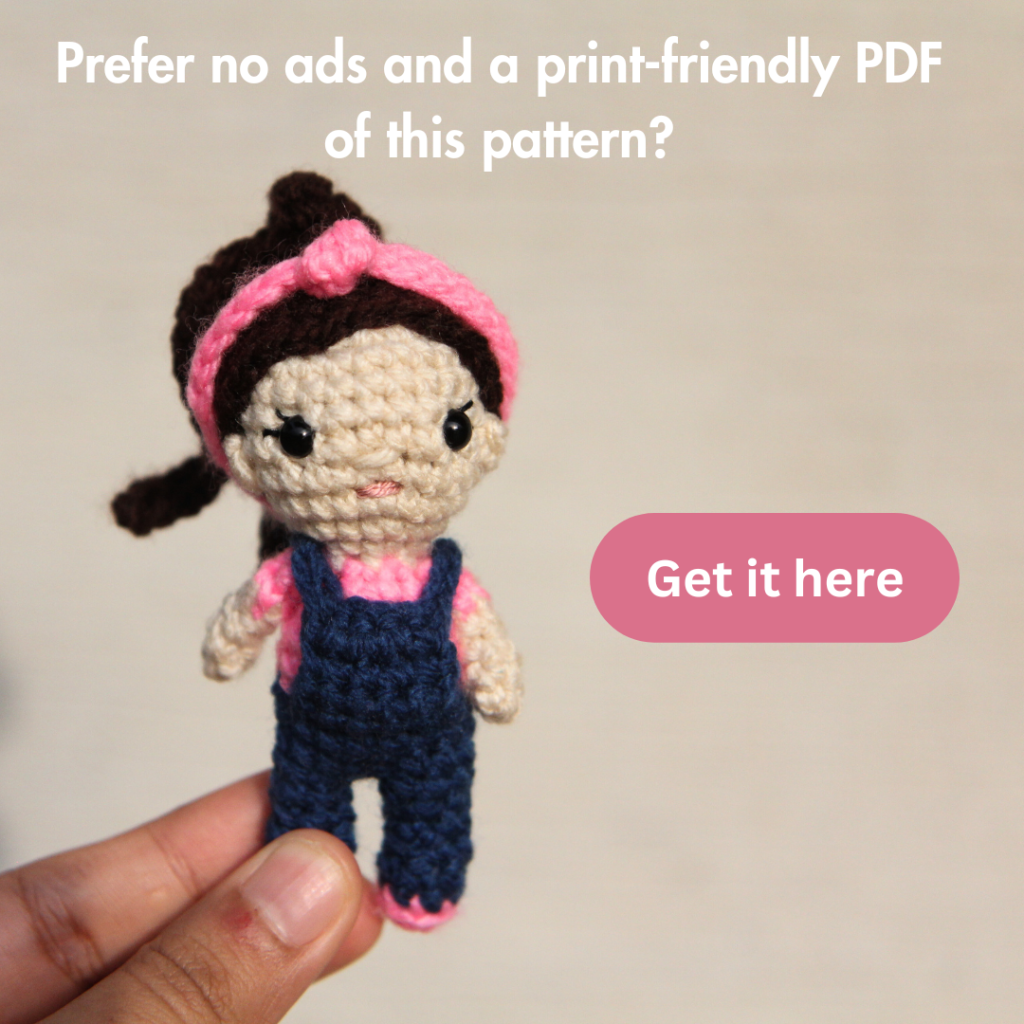
To honour her advocacy, the proceeds for our ads-free print-friendly version of this pattern will be donated to the Palestine Children’s Relief Fund. So you can grab it now in our Ravelry Store! And don’t miss our round up of crochet patterns for Palestine.
Want to save this pattern for later? Save it to your Pinterest Board.
Ms. Rachel Crochet Doll Free Pattern
This pattern is for your personal use only and cannot be sold, copied, or reproduced in any way without permission from the designers. You may sell finished objects made from this pattern in small quantities but please give credit to chaicoffeecrochet.com as the pattern designer.
Tools & Supplies You Need to Crochet a Ms. Rachel Doll
- Yarn: You need a very small amount of yarn in skin colour, blue, brown, and pink
- 2.75 mm crochet hook
- Tapestry needle
- Stitch markers
- Polyfill stuffing
- Two 6 mm safety eyes
- Embroidery thread in black for the eyelashes and light pink for the mouth
Stitches & Abbreviations Used
This pattern is written in US terms and crocheted in continuous rounds unless specified otherwise.
Sl st: slip stitch
SC: single crochet
INV DEC: invisible decrease
INC: two SC in the same stitch
BLO: back loops only
Ms Rachel Doll Pattern Notes
About the Pattern
- Difficulty level: Advanced Beginner
- Finished size: Approximately 4 inches tall, using DK yarn.
- This pattern is written in US terms
- This pattern is crocheted in continuous rounds unless specified otherwise. Use a stitch marker on the first stitch of every round so that you don’t lose track of the start of your round.
Yarn and Sizing Adaptations
- This doll was made using DK yarn. However, you may use any yarn with the relevant hook (usually, for amigurumi you go down 2-3 sizes from that recommended on the yarn label).
- Sizing adaptations: You can make this doll in multiple sizes. With DK yarn and a 2.75mm hook, it turns out to be approximately 4 inches tall. With super bulky blanket yarn with a 7 mm hook, it will be approximately 12 inches tall.
Tips and Pattern Adaptations
- The arms can be a little fiddly since they are very small. If you are having trouble making them, you can try crocheting 5 SC in each round, which will result in slightly larger arm but will still look cute.
- Pattern Adaptations: This doll is part of the Kozu Palm Pals crochet dolls series. The dolls in the series all have haircaps that are interchangeable, so you have over 17 haircaps to choose from!
How to Crochet a Small Ms. Rachel Doll
Legs
Begin with pink
Stuff legs lightly as you go.
Round 1: 6 SC into a magic circle (6)
Change to blue
Round 2: SC around in BLO (6)
Round 3-6 (4 rounds): SC around (6)
Fasten off. Make sure that you’ve pulled the magic circle tight so that stuffing doesn’t escape from it.
Repeat rounds 1-6 for the second leg but don’t fasten off.
Body
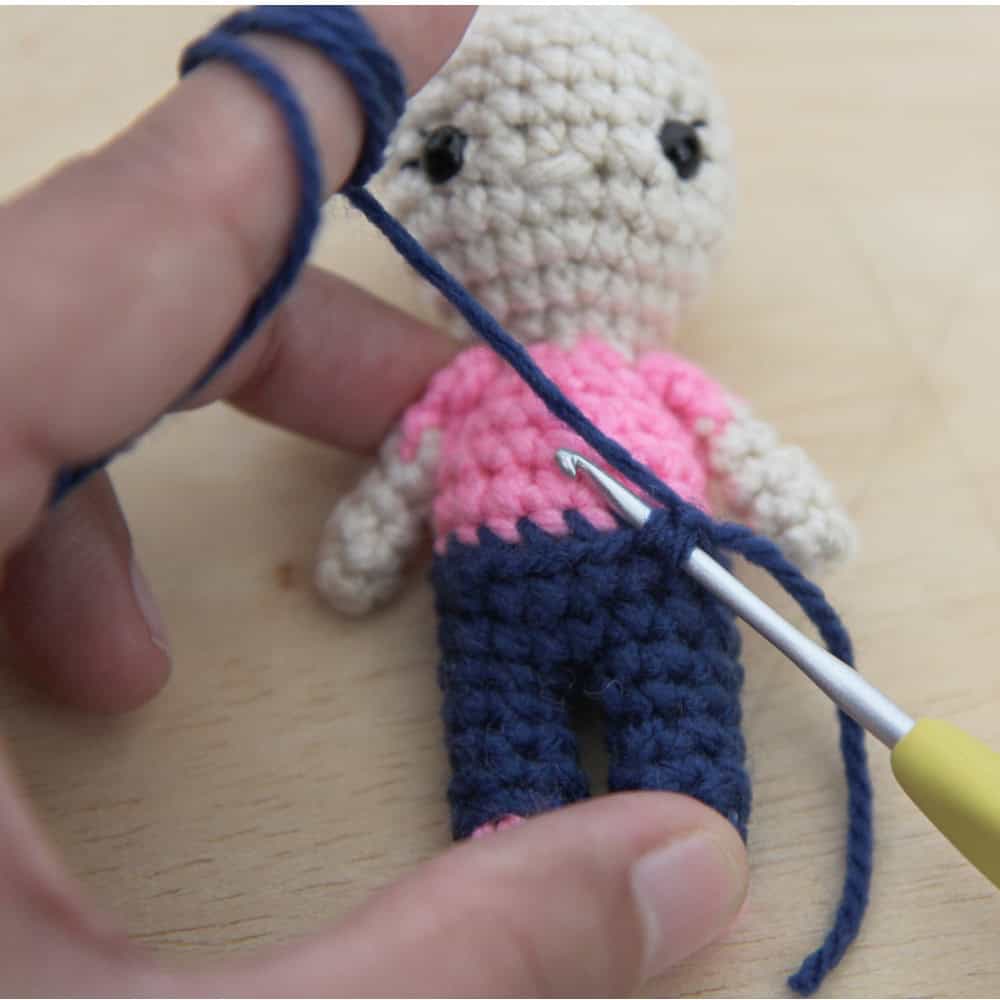
Stuff as you go. Now we will begin joining the legs.
Round 7: Chain 2 and SC in the next unworked stitch of the first leg. Place a stitch marker in this stitch to mark the start of your round. SC in the remaining 5 stitches of the first leg until you reach the chain, SC in each of the 2 chains, SC in the 6 stitches of the next leg, and SC on the other side of each of the two chains until you reach your stitch marker. (16)
See end of pattern on how to join legs for Kozu Palm Pals dolls (the instructions are general for the dolls and so are not in the same colours as this pattern)
Round 8-9 (2 rounds): SC around (16)
Change to pink
Round 10: SC around in BLO (16)
Round 11-12 (2 rounds): SC in each stitch around (16)
Round 13: (2 SC, INV DEC) four times (12)
Round 14: (2 SC, INV DEC) three times (9)
Change to skin colour.
Round 15: (SC, INV DEC) three times (6)
Head
Round 16: INC in each stitch around (12)
Round 17: (SC, INC) six times (18)
Round 18: (2 SC, INC) six times (24)
Round 19-23 (5 rounds): SC in each stitch around (24)
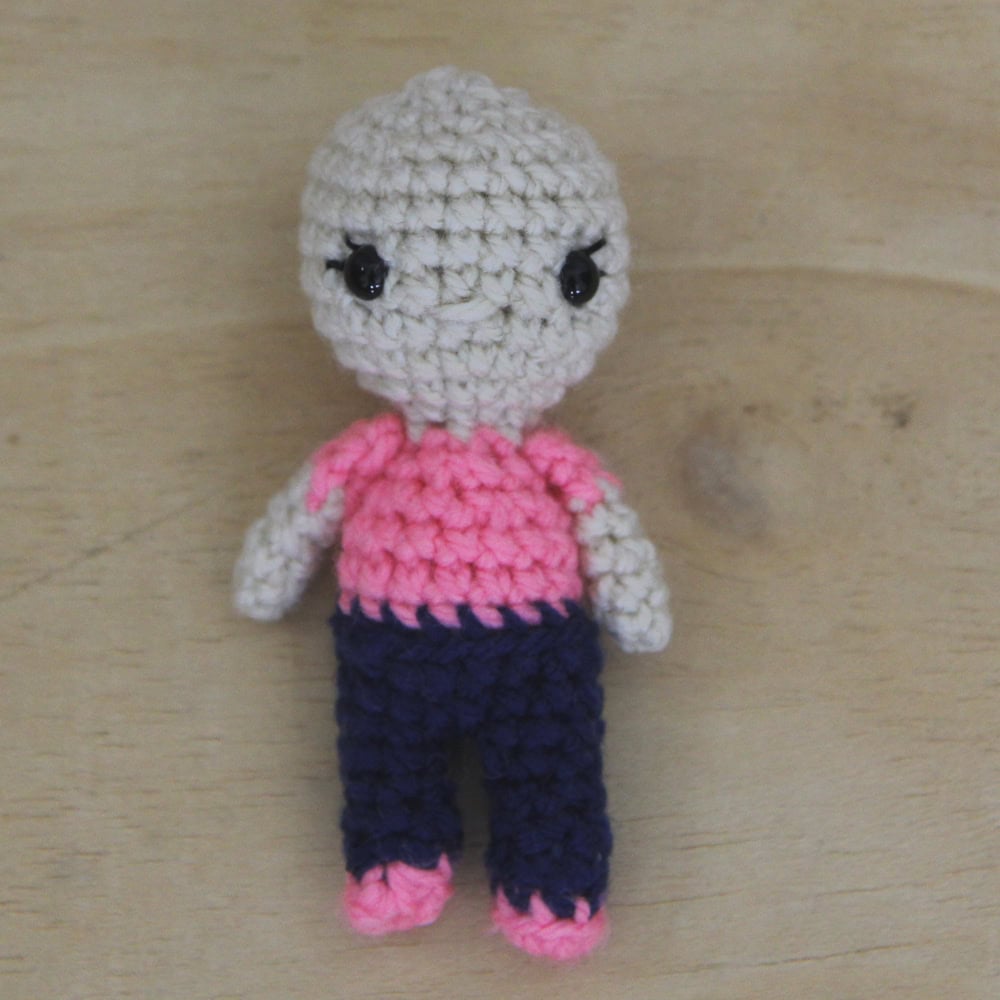
If you’re using safety eyes, insert them between Rounds 20 and 21, approximately four stitches apart. Once you are satisfied with the placement of the eyes, remove the eyes and embroider eyelashes. Reinsert the eyes and put the washer firmly on the back.
Ensure that you have stuffed the body well, especially the neck. I use the back of a scissor to get the stuffing in but you can use anything small enough to really push the stuffing in to ensure that the neck is firm! Continue stuffing the head.
Round 24: (2 SC, INV DEC) six times (18)
Round 25: (SC, INV DEC) six times (12)
Ensure that you have stuffed the head well.
Round 26: INV DEC six times (6)
Fasten off and leave a long tail to embroider the nose. Insert needle in front loop of each stitch and pull tight to close. Embroider on the nose one row below the eyes by making horizontal passes over two stitches. Use pink embroidery thread to embroider the mouth.
Arms
Do not stuff
Begin with skin colour.
Round 1: 4 SC into a magic circle (4)
Round 2-4 (3 rounds): SC around (4)
Change to pink
Round 5-6 (2 rounds): SC around (4)
Fasten off and leave a long tail for sewing. Sew onto the body between Round 13 and 14.
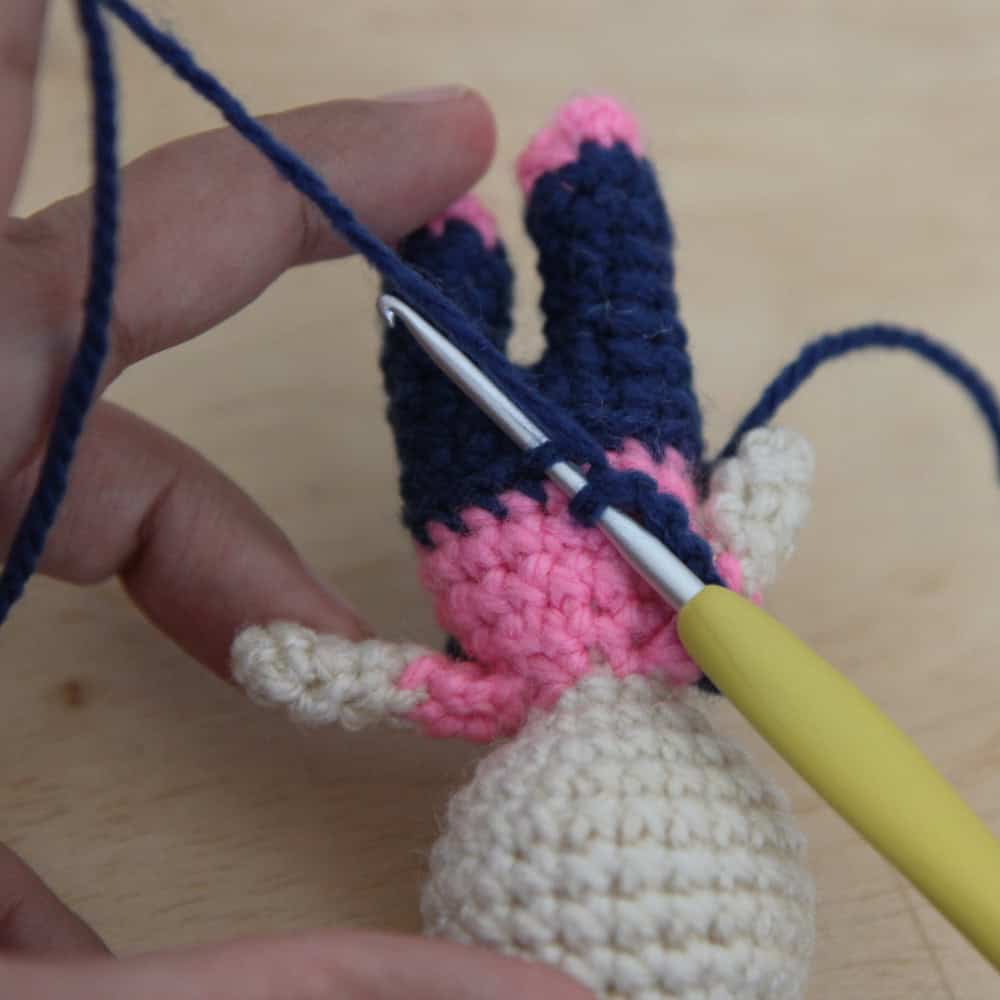
Bib for the overalls
Turn your doll upside down and count off the five stitches in the front center of your doll. These will make the bib for the overalls. Attach blue yarn to the first stitch on the right, in the unworked front loops from Round 9.
We will be working in rows to make the bib for the overalls.
Row 1: Ch 1, 5 SC (5)
Row 2-4 (3 rows): Ch 1, turn. 5 SC (5)
Now, to make the strap, chain 9 (or the length that you need to reach the center unworked front loops at the back of your doll and sl st into that st.
Chain 9 again (or the same number as you had done for the first strap) and slip stitch into the left corner of the bib.
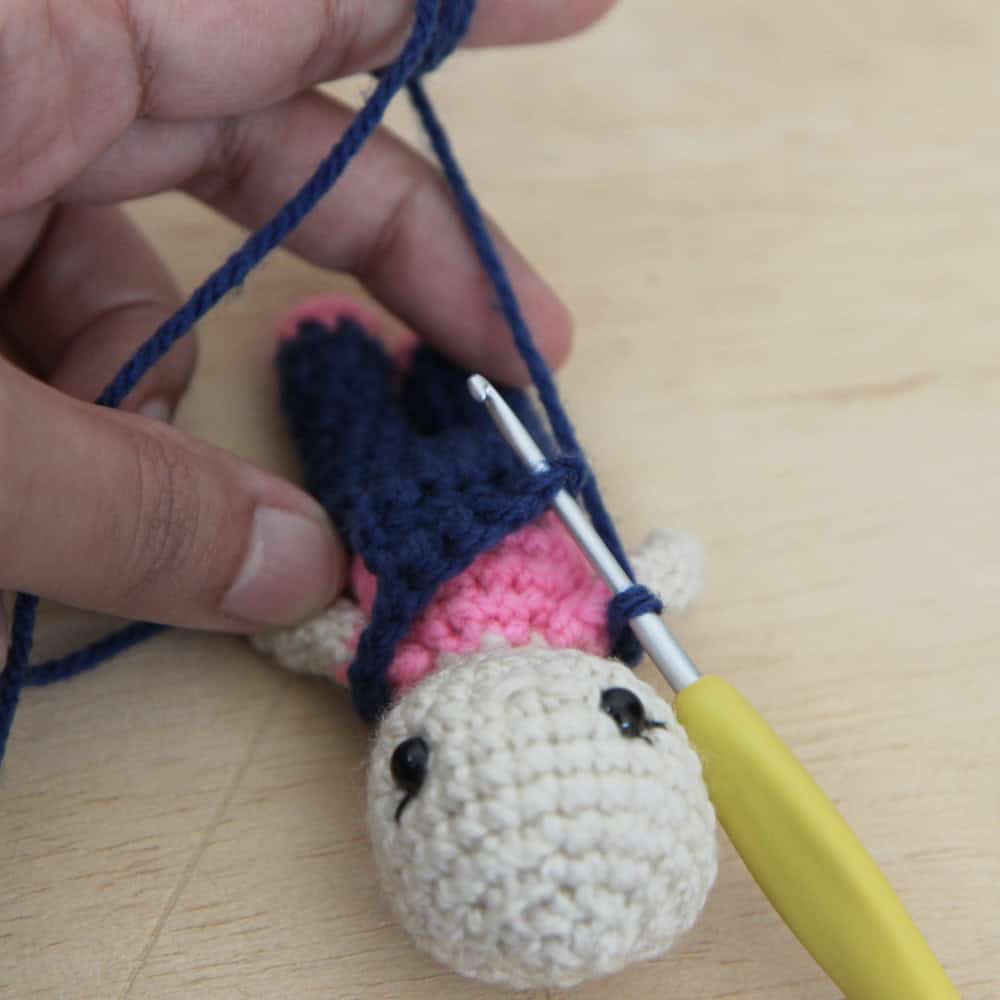
Fasten off and leave a long tail. Pass one stitch through each of the shoulder straps to ensure that they stay in place. Weave in the ends.
Hair
Note: This pattern comes with the hair cap with a ponytail. However, you can interchange it with any of the hair caps in the Kozu Palm Pals series.
Using brown yarn.
Round 1: 6 SC into a magic circle
Round 2: INC in each stitch around (12)
Round 3: (SC, INC) six times (18)
Round 4: (2 SC, INC) six times (24)
Round 5-9 (5 rounds): SC around (24)
Check the hair cap to see if it fits well on the head and provides enough coverage. You may need to increase or decrease one round (or even half a round) to get it to fit well.
Fasten off and sew the hair cap onto your doll’s head.
Ponytail
Make a magic circle. [Chain 20. Starting from the second chain on your hook, 19 SC and sl st into your magic circle.] Repeat this four times so that you have four stands of hair. Pull the magic circle closed and sew the ponytail onto your doll’s head between rounds 3 and 4 (you may need to adjust the placement, as your hair cap may not be sewed on exactly as our’s is).
Hair Tie
For the hair tie, I used the hair colour. If you prefer, you can use an alternate colour.
Chain 4 and fasten off. Sew the hair tie around the ponytail on your doll’s head.
Ears (make 2)
Round 1: Make a magic circle and SC inside the circle.
Fasten off and leave a long tail for sewing. Sew onto the head approximately 3 stitches away from the eyes, at the edge of the hair cap.
Ms. Rachel’s Hair band
Use pink yarn.
Round 1: Chain 39. Starting from the second chain on the hook, 39 SC (39)
Make knot in the centre of the hairband and pull it tight.
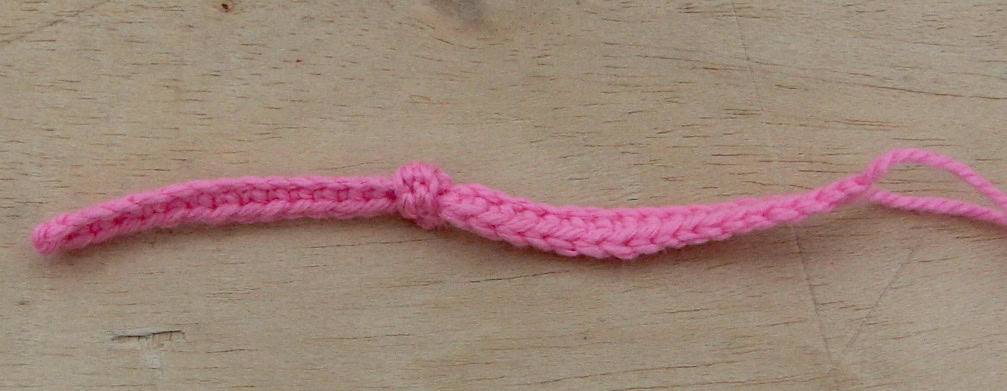
Sew the two ends together to join the hairband.
Your Ms Rachel doll is now complete.
How to Crochet a Large Ms. Rachel Doll?
If you would prefer to crochet a large Ms Rachel doll, you can crochet this pattern using a thicker yarn and a larger hook. For example, if you crochet this pattern using super bulky blanket yarn and a 7mm crochet hook, your doll will be approximately 12 inches tall! How’s that for a bundle of cuddles?
If you would prefer a larger pattern where you can use the same yarn and hook, you can adapt the patterns from our Zoya & Zayd crochet dolls series. In fact, I first heard of Ms Rachel because a few people had shared that they had used our patterns to crochet a Ms. Rachel doll!
Large Ms. Rachel Doll Free Pattern
So this is the adaptations that I would recommend from those patterns:
- Basic Body: You can follow the basic body for your doll using our Zoya crochet doll with overalls pattern.
- Arms: Since the above pattern has long sleeves, you will need to follow the colour change for the arms from the Zoya skirt doll.
- Hair: Follow the hair style from the Zoya skirt doll.
You’re now almost done. You just need to add her iconic hairband using the following pattern:
Ms. Rachel’s Hairband (for large doll)
Chain a length long enough so that it fits around your doll’s head. Add an additional one inch worth of chains to accomodate the knot.
Starting from the second chain on your hook, HDC in each chain. Fasten off and leave a long tail for sewing.
Sew the two ends of your hairband together and slip it onto the head of your doll.
You’re all done!